Budget Wall Decor Cost Estimator
Select a decoration method and enter your details to estimate the total cost and effort.
Staring at a blank wall can feel like staring at a mistake. It’s empty, it’s cold, and it screams that you haven’t finished decorating yet. The instinct is often to run to the nearest furniture store and buy a framed print that costs more than your weekly grocery bill. But here is the secret most interior designers won’t tell you until they’ve already billed you for their consultation: expensive taste doesn’t require an expensive wallet.
You can transform a sterile room into a space with personality, warmth, and style without spending a dime on high-end retail art. In fact, some of the most striking walls in Melbourne apartments are decorated using items found in thrift stores, nature, or even the recycling bin. The key isn't the price tag; it's the intention behind the arrangement. Let’s look at how you can decorate a wall for cheap while making it look like you hired a professional stylist.
The Power of Gallery Walls Without the Price Tag
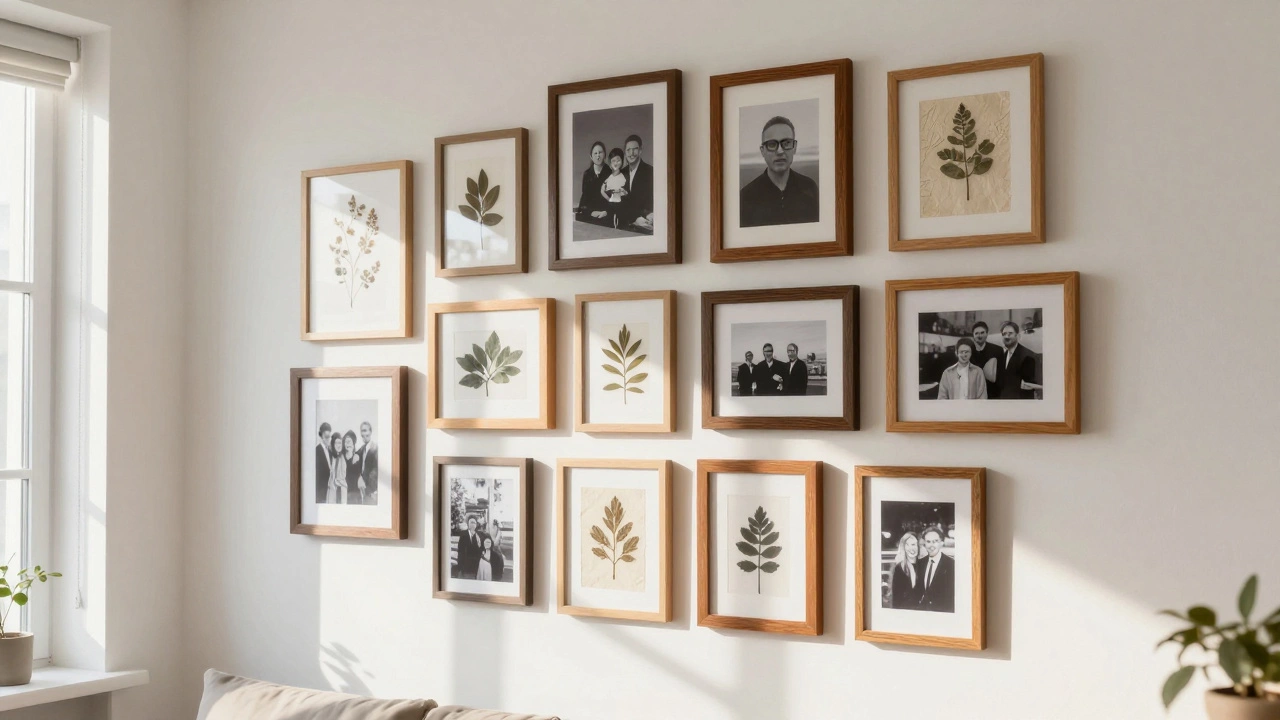
Gallery walls are the ultimate way to fill large spaces, but buying ten matching frames and ten prints is a fast track to bankruptcy. You don’t need uniformity. In fact, mismatched frames often look more curated and authentic. Start by raiding your own home. Do you have old photo frames from holidays? Borrow them from friends who are moving out? Check local Facebook Marketplace groups or Freecycle pages in Melbourne. People throw away perfectly good wooden frames every week because they just want them gone.
Once you have your frames, focus on the content. You don’t need to buy art. Use black-and-white photos of yourself, friends, or family. Print them at home or at a local newsagent for pennies. Mix these with personal mementos: a ticket stub from a gig at the Forum Theatre, a pressed flower from a walk in the Royal Botanic Gardens, or a page from a favorite book. Tape or pin these directly onto the canvas inside the frame. The variety creates visual interest, and the personal connection makes the wall unique to you.
- Mix sizes: Combine small square frames with larger rectangular ones to break up the monotony.
- Vary heights: Don’t align everything in a perfect grid. Stagger them slightly for a relaxed, organic feel.
- Use tape: If you’re renting and can’t drill holes, use removable poster putty or blue painter’s tape to hang lightweight frames.
Natural Elements: Free and Timeless
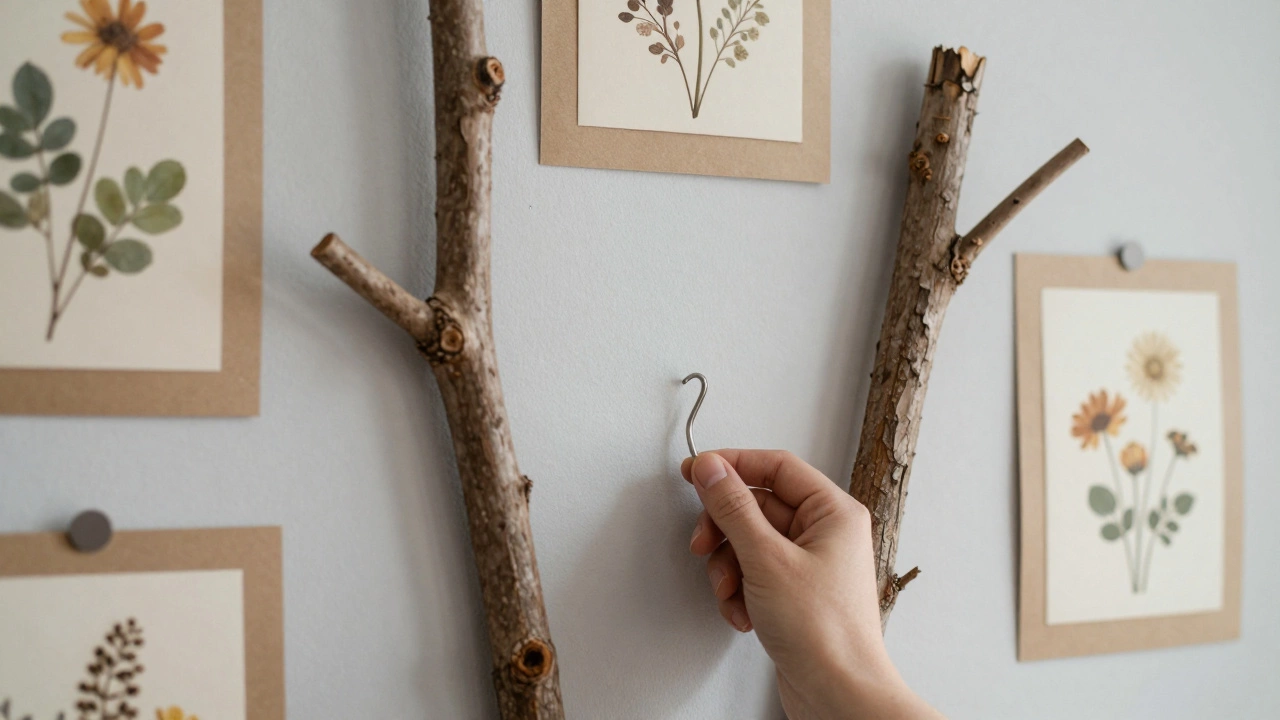
Nature provides the best design materials, and they are completely free if you know where to look. Branches, dried flowers, and leaves add texture and life to a wall without costing anything. Head to a park or a bushland area (always check local regulations regarding picking native plants) and collect interesting branches. Look for shapes that have natural curves or interesting knots.
Wash the branches and let them dry completely. Then, mount them on the wall using strong adhesive hooks or nails. Arrange them in a symmetrical pattern for a modern look, or cluster them asymmetrically for a bohemian vibe. You can also press flowers between the pages of a heavy book for a few weeks, then frame them in simple cardboard mats cut to size. This technique turns a casual afternoon walk into high-end botanical art.
If you live in an apartment without easy access to bushland, check out the back of local nurseries. They often discard imperfect branches or dried floral stems that are still beautiful. Ask politely before taking anything. These natural elements bring a sense of calm and connection to the outdoors, which is exactly what indoor spaces often lack.
DIY Textile Art and Tapestries
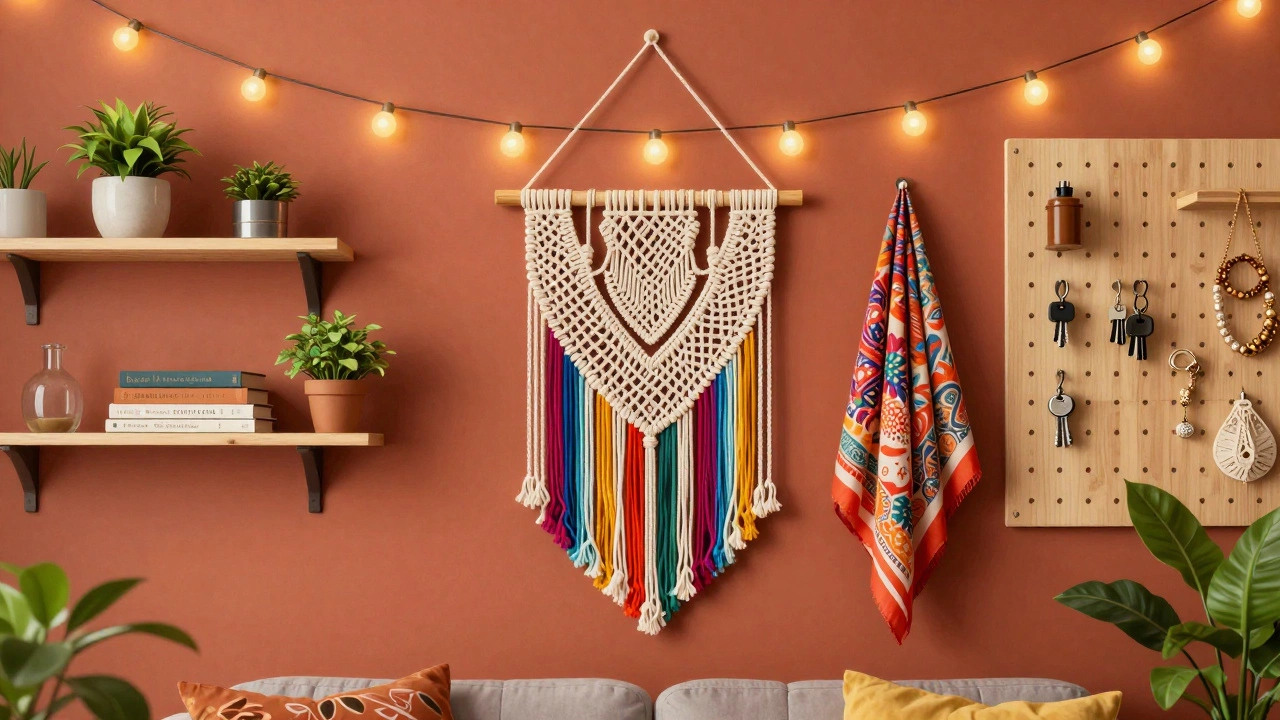
Fabric is soft, warm, and incredibly versatile. Old scarves, shawls, or even bedsheets can be transformed into stunning wall hangings. If you have an old scarf with a vibrant pattern, simply drape it over a tension rod or a simple wooden dowel. Secure the ends with clips or tie them neatly. Instant color and texture.
For a more structured look, try macramé. You don’t need to be a knitting expert. A simple knotting technique using jute rope or cotton cord can create a beautiful geometric pattern. Buy a spool of rope from a craft store-it’s usually under $10-and follow a basic tutorial online. Hang it from a single nail or hook. The tactile quality of the rope adds depth to the wall, absorbing sound and softening the room’s acoustics.
Another option is to use fabric scraps to create a patchwork panel. Sew or glue different colored squares together, then stretch the fabric over a wooden frame or even a stretched wire mesh. This mimics the look of expensive woven tapestries but costs a fraction of the price. Plus, you can customize the colors to match your existing furniture.
Paper Art and Collage Techniques
Paper is one of the cheapest materials available. Magazines, newspapers, wrapping paper, and even junk mail can become art. Cut out images, patterns, or text that catch your eye. Arrange them on the floor first to experiment with composition. Then, glue them onto a piece of cardboard, poster board, or even directly onto the wall using removable adhesive.
Create a collage that tells a story or reflects a theme. For example, cut out all the green tones from various magazines to create a monochromatic abstract piece. Or use newspaper clippings about travel destinations you dream of visiting. Frame the finished collage in a thrifted frame, or leave it unframed for a raw, artistic look. Paper art is lightweight, easy to change, and allows for endless creativity.
You can also try origami. Fold paper cranes, stars, or flowers and arrange them in a cluster on the wall. Use fishing line to suspend them at different heights for a 3D effect. This adds movement and whimsy to the space. Origami kits are inexpensive, and you can reuse paper from old notebooks or calendars.
Functional Wall Decor: Storage Meets Style
Why not make your wall decor useful? Functional pieces serve a dual purpose: they look good and they help you organize your life. Install floating shelves using brackets you find at a hardware store. Paint them white or stain them to match your floor. Display books, small plants, or decorative objects. The shelves themselves become part of the decor.
Hanging pegboards are another excellent option. They are affordable, customizable, and highly functional. Mount a pegboard on the wall and use hooks to hang keys, jewelry, or kitchen utensils. Add small baskets or trays for extra storage. The grid pattern of the pegboard provides a structured backdrop that looks intentional and designed. You can paint the pegboard a bold color to make it a focal point.
Even something as simple as a coat rack mounted horizontally can become a statement piece. Hang hats, scarves, or bags on it. The arrangement changes daily, keeping the wall dynamic. This approach works particularly well in entryways or bedrooms where clutter tends to accumulate.
| Method | Estimated Cost | Skill Level | Best For |
|---|---|---|---|
| Thrifted Gallery Wall | $5 - $20 | Low | Living rooms, hallways |
| Natural Branches/Flowers | $0 | Low | Bedrooms, bathrooms |
| Fabric Draping/Macramé | $10 - $30 | Medium | Boho styles, student dorms |
| Paper Collage | $0 - $10 | Low | Offices, creative spaces |
| Functional Shelving | $15 - $40 | Medium | Kitchens, entryways |
Lighting as Wall Art
Don’t overlook the impact of light. A well-placed lamp or string lights can dramatically change the perception of a wall. Fairy lights draped across a corner or around a mirror create a warm, inviting glow. Battery-operated LED strips are cheap and easy to install behind headboards or along shelves.
Consider using a projector to cast images or patterns onto the wall. An old smartphone or a dedicated mini-projector can display starry skies, moving clouds, or abstract animations. This transforms the wall into a dynamic canvas that changes throughout the day. It’s an interactive element that engages guests and adds a layer of sophistication without permanent installation.
Common Mistakes to Avoid
While decorating on a budget is rewarding, there are pitfalls to watch out for. First, avoid overcrowding. Just because something is cheap doesn’t mean you should cover every inch of wall space. Leave some breathing room so each piece can shine. Second, ensure your arrangements are balanced. Distribute visual weight evenly across the wall to prevent it from feeling lopsided.
Also, consider the scale of your furniture. Large walls need larger statements or grouped clusters to feel proportionate. Small walls benefit from single, impactful pieces. Finally, don’t ignore the height. Hang art at eye level, typically 57 inches from the floor to the center of the piece. Hanging too high makes the room feel disconnected; hanging too low feels cramped.
Next Steps for Your Wall Project
Start small. Pick one wall and one method from this guide. Gather your materials over a weekend. Experiment with layouts on the floor before committing to nails or adhesive. Take photos of your progress and adjust as needed. Decorating is iterative. What looks wrong today might look perfect after you move a frame two inches to the left.
Remember, the goal is not perfection. It’s expression. Your walls should reflect your tastes, memories, and personality. By using cheap, accessible materials, you remove the pressure of preserving expensive assets. This freedom allows you to take risks, try new styles, and evolve your space as you do. So grab those thrifted frames, step outside for some branches, and start creating.
How do I hang heavy items on a wall without damaging it?
If you are renting, use removable adhesive hooks rated for the weight of your item. For heavier pieces, consider command strips specifically designed for drywall. Always clean the wall surface with alcohol before applying adhesive to ensure maximum hold. If drilling is allowed, use anchors appropriate for your wall type (drywall vs. plaster).
What is the best height to hang wall art?
The standard museum height is 57 inches from the floor to the center of the artwork. This places the art at average eye level. If hanging above a sofa, keep the bottom of the frame 6-8 inches above the backrest to maintain a visual connection between the furniture and the art.
Can I use outdoor branches indoors?
Yes, but ensure they are completely dry to prevent mold or pests. Wash them thoroughly and let them air dry for several days. Sand any rough edges to avoid splinters. Sealing them with a clear matte varnish can help preserve them and reduce dust accumulation.
How do I mix different frame styles cohesively?
Unify mixed frames by repeating a common element, such as color or material. For example, use only black frames, or only wooden frames. Alternatively, balance ornate frames with simple ones by distributing them evenly across the gallery wall. Consistency in matting color can also tie disparate frames together.
Is it better to buy cheap art or make my own?
Making your own art offers greater personalization and uniqueness. While cheap store-bought art is convenient, it lacks personal meaning and may clash with your specific decor. DIY projects allow you to control colors, themes, and scale, resulting in a more cohesive and satisfying final look.