Kitchen Cabinet Organizer Planner
Cabinet Organization Calculator
Storage Recommendations
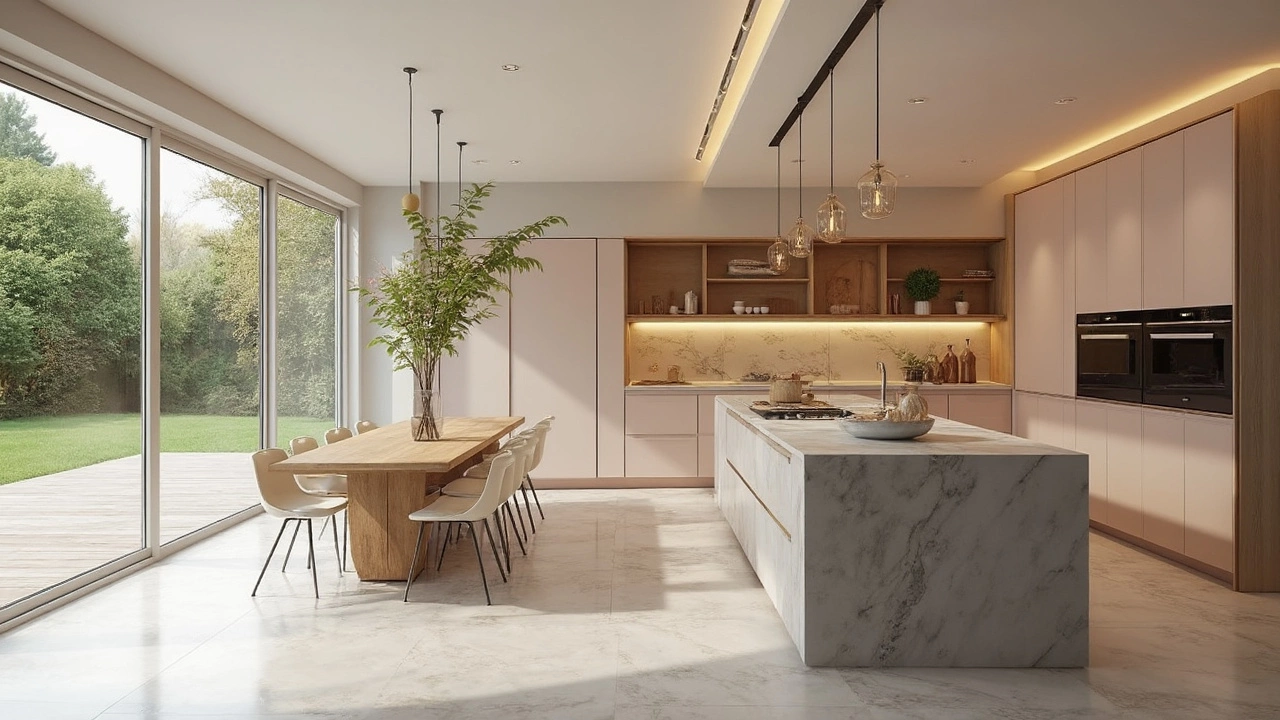
When you stare at a cluttered countertop and a jumble of drawers, the first question that comes to mind is: kitchen cabinet organization. The right placement can cut cooking time, reduce stress, and make the whole space feel larger. Below is a practical, step‑by‑step guide that walks you through the decisions you need to make, no matter how big or small your kitchen is.
Kitchen Cabinet Organization is the process of arranging cookware, food, and accessories inside cabinets and drawers so that items are easy to find and use. It blends ergonomics, design principles, and everyday habits into a single system that works for you.
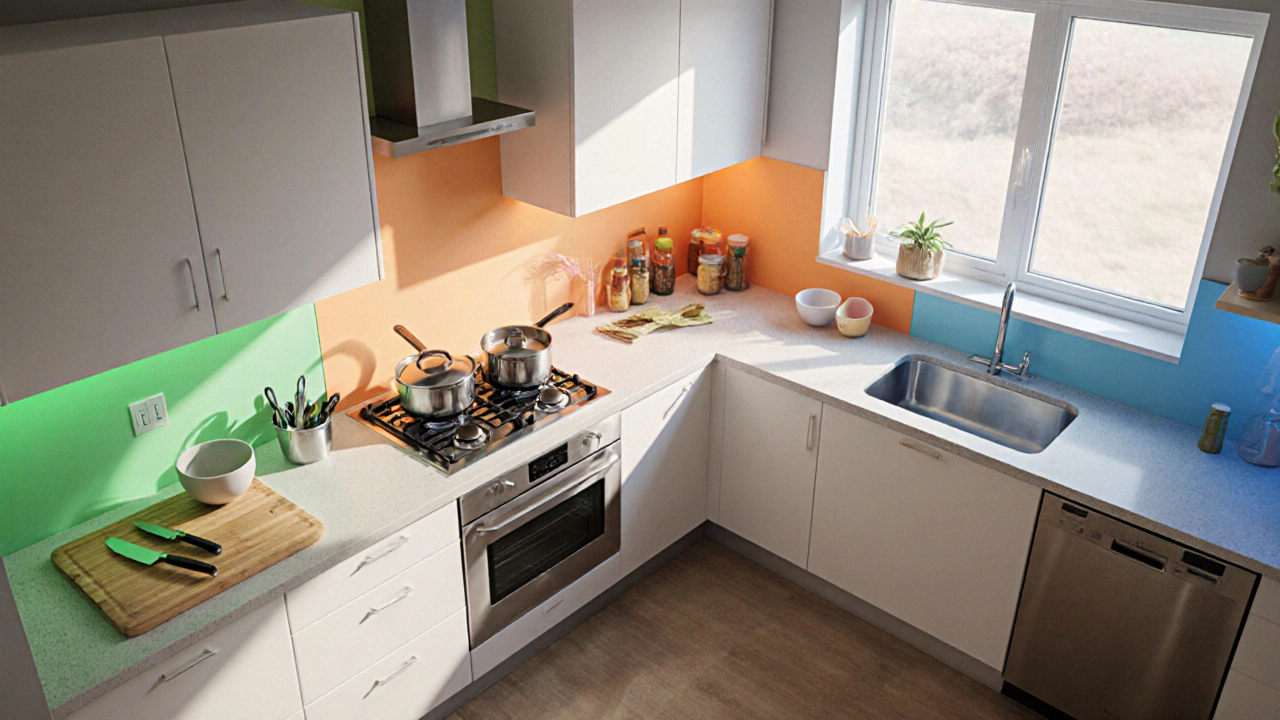
Map Your Kitchen Zones
Start by visualising the three main work zones in most kitchens: prep, cook, and clean. Each zone has a set of tasks and the tools you need most often. Placing those tools within arm’s reach prevents unnecessary steps.
- Prep Zone includes cutting boards, knives, mixing bowls, and measuring cups.
- Cook Zone holds pots, pans, spatulas, and frequently used spices.
- Clean Zone covers dishwashing supplies, trash bags, and cleaning cloths.
Mark these zones on a simple floor plan. The goal: keep the items you need for each zone inside the nearest cabinet or drawer.
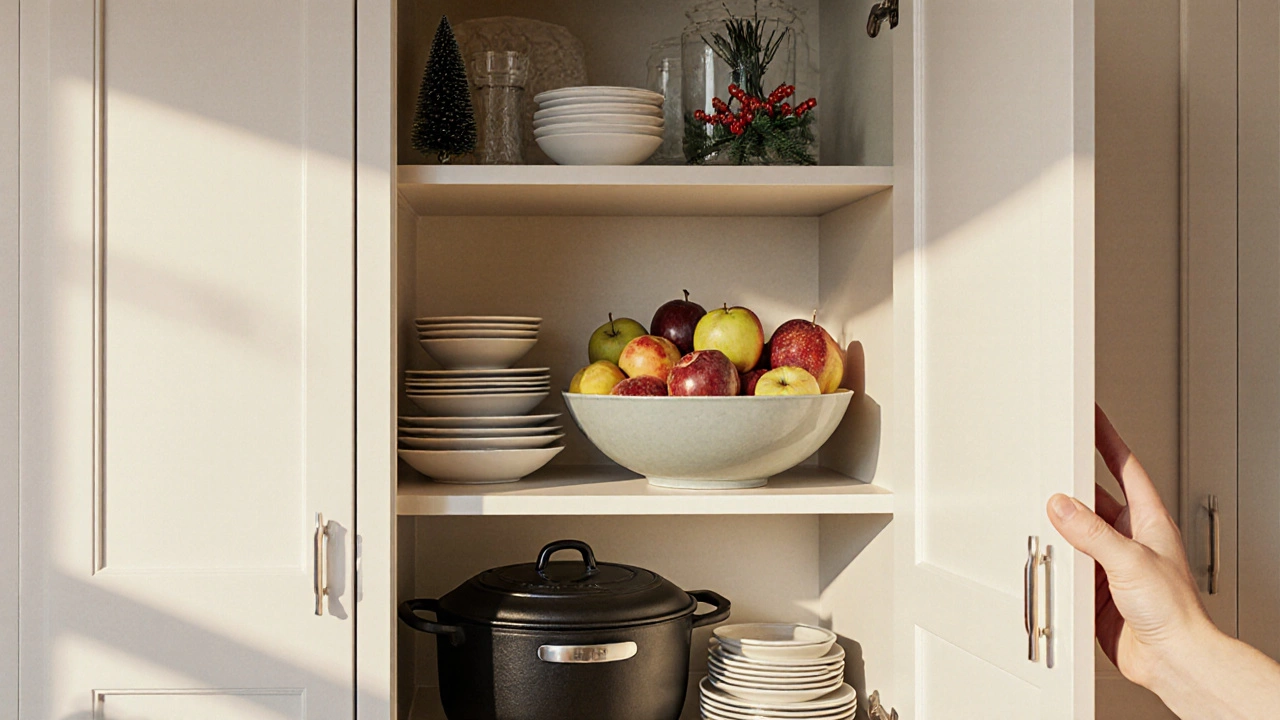
Sort Items by Frequency of Use
Not every pot needs to sit at eye level. Identify high‑frequency items (you reach for them daily) and low‑frequency items (only used on special occasions). Store the former in the most accessible spots, the latter higher up or deeper inside.
- Grab a handful of dishes, pans, or appliances and ask yourself how often you use them.
- Label each as "daily", "weekly", or "rare".
- Map the labels onto your cabinet layout: daily items go in the bottom shelves, weekly items in the middle, rare items on the top or in the back.
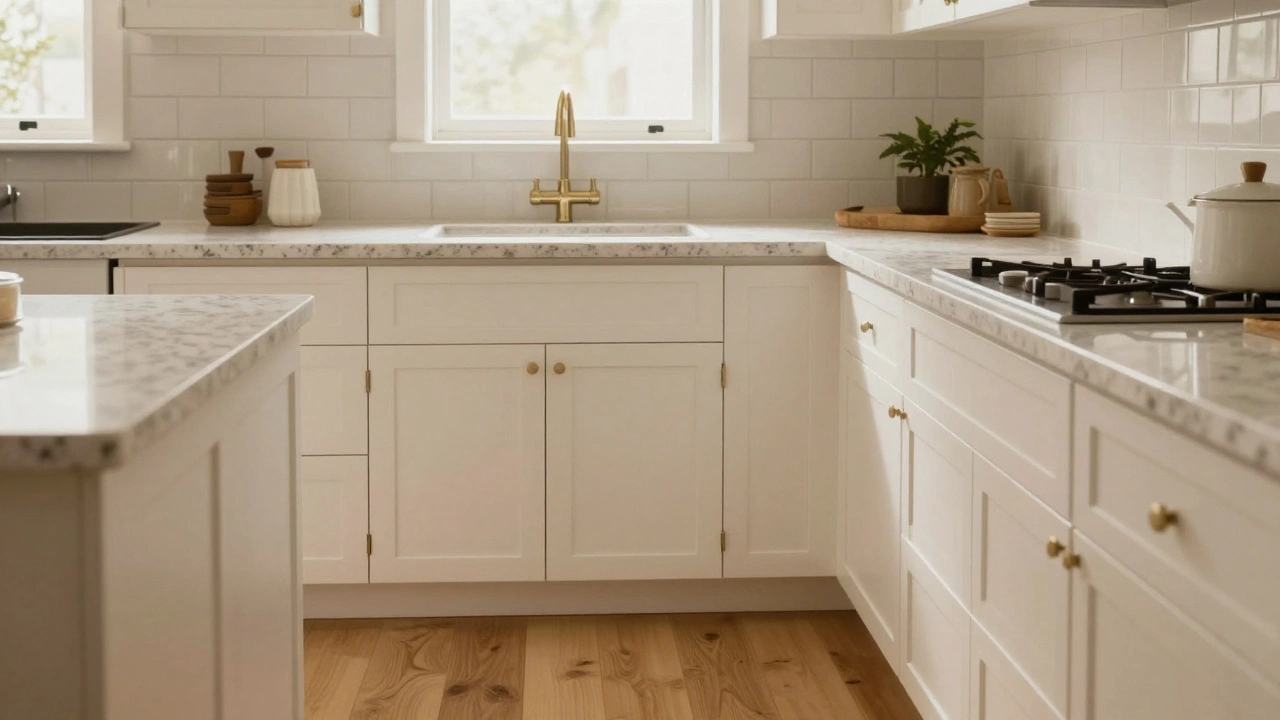
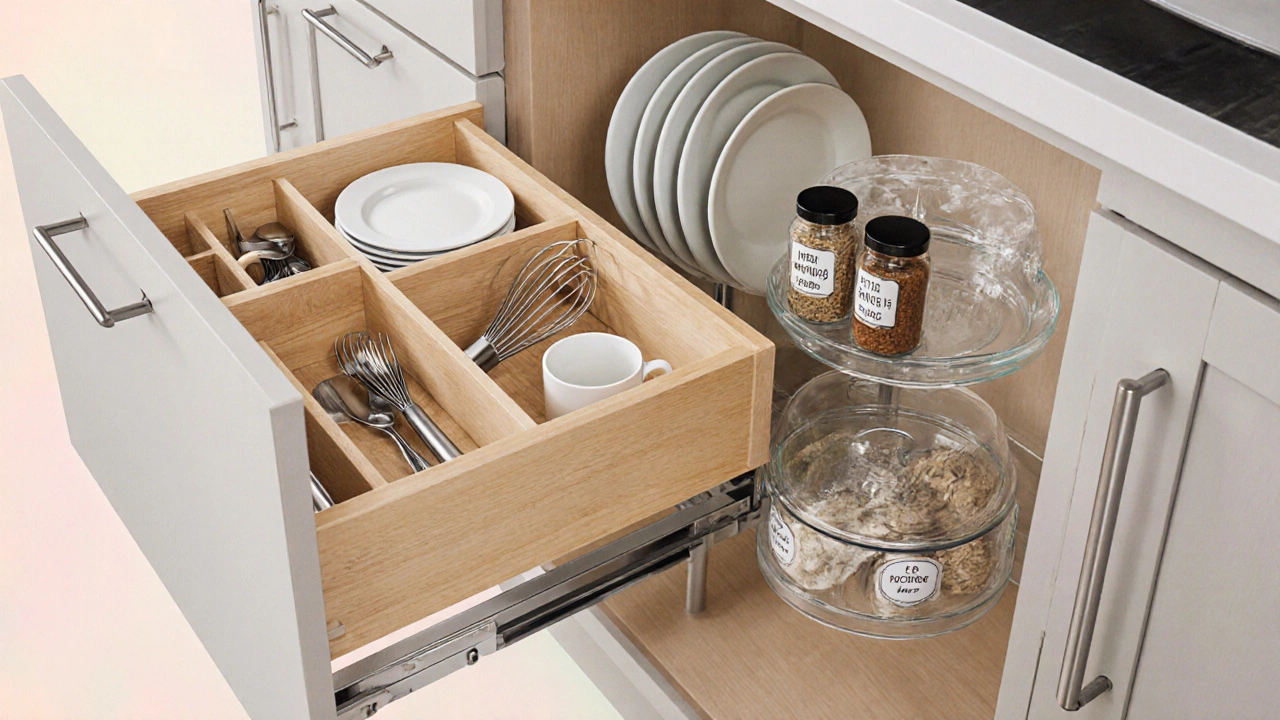
Pick the Right Storage Solutions
The way you store an item can be as important as where you store it. Below are four common accessories that can transform any cabinet.
- Drawer Dividers create separate compartments for utensils, gadgets, and small tools.
- Pull‑out Shelves bring the back of a deep cabinet to the front, eliminating forgotten items.
- Lazy Susan spins to expose spices or canned goods stored in corners.
- Clear Containers make pantry items visible, reducing duplicate purchases.
Investing in a few of these tools pays off quickly because each one reduces the time spent hunting for things.
Step‑by‑Step Layout Planning
Follow this workflow to turn your sketch into a functional cabinet plan.
- Measure the interior height, width, and depth of each cabinet.
- Write down the maximum load each shelf can hold (most cabinets are rated at 20‑30 kg per shelf).
- Place heavy items (cast‑iron pans, large mixers) on the bottom shelves where the floor can support the weight.
- Assign tall, narrow items (baking sheets, cutting boards) to vertical slots or rack inserts.
- Use the centre of each shelf for items you reach for most often; push less‑used items to the back.
- Leave a 2‑inch gap between plates and the cabinet door to allow the door to close fully.
- Test the layout by opening and closing each door; adjust if any items snag.
Take a photo of the finished arrangement. It serves as a reference if you ever need to re‑stock or redecorate.
Quick Checklist for Cabinet Placement
- Identify the three work zones and map them on paper.
- Classify every kitchen item by daily, weekly, or rare use.
- Match heavy items to lower shelves to protect cabinetry.
- Reserve the centre of each shelf for high‑frequency tools.
- Use drawer dividers for utensils and gadgets.
- Install pull‑out shelves or Lazy Susans for deep corners.
- Leave clearance for cabinet doors to close without hitting items.
Comparison of Common Organization Strategies
| Strategy | Best For | Key Advantage | Potential Drawback |
|---|---|---|---|
| Zone‑based | Homes with defined prep, cook, clean areas | Reduces movement between stations | Requires precise mapping of zones |
| Item‑type | People who mind‑sort cookware vs. appliances | Intuitive grouping by category | May place rare items at eye level |
| Frequency‑based | Busy families that need fast access | Everyday tools are always within reach | Can lead to “stacked” shelves if not planned |
Pro Tips & Common Pitfalls
Even with a solid plan, small mistakes can undo the whole effort. Here are seasoned tips to keep you on track.
- Don’t overload shelves. Exceeding the weight rating bends hinges and warps wood.
- Label interior sides of cabinets with a small sticker; it saves future guesswork.
- Use uniform containers for dry goods; mismatched sizes look messy and waste space.
- Keep a small “catch‑all” drawer for items that don’t fit anywhere else, but limit it to 5‑7 pieces.
- Re‑evaluate the layout every six months; cooking habits change.
How high should I place rarely used items?
Store them on the top shelf or at the back of a deep cabinet. That keeps daily‑use space clear while still accessible when needed.
Can I mix zone‑based and frequency‑based methods?
Absolutely. Many homeowners start with zones, then fine‑tune each zone by frequency. The hybrid approach often yields the most efficient layout.
What’s the ideal depth for a pull‑out shelf?
A 15‑inch pull‑out fits most standard cabinets and lets you see the back without over‑extending the drawer.
Should I store pots on upper or lower shelves?
Heavy pots belong on lower shelves to protect the cabinet and make lifting easier. Lighter pans can live higher.
How often should I reorganize my cabinets?
A quick audit every six months catches habit changes and prevents clutter from building up.