Bathroom Remodel Sequencer
Answer the questions below to get a personalized recommendation for your bathroom remodel.
Recommendation
Why This Works
Critical Tips
Note: Always ensure waterproofing membranes are fully cured before tiling. Leave an expansion joint at the floor-wall intersection filled with silicone, not grout.
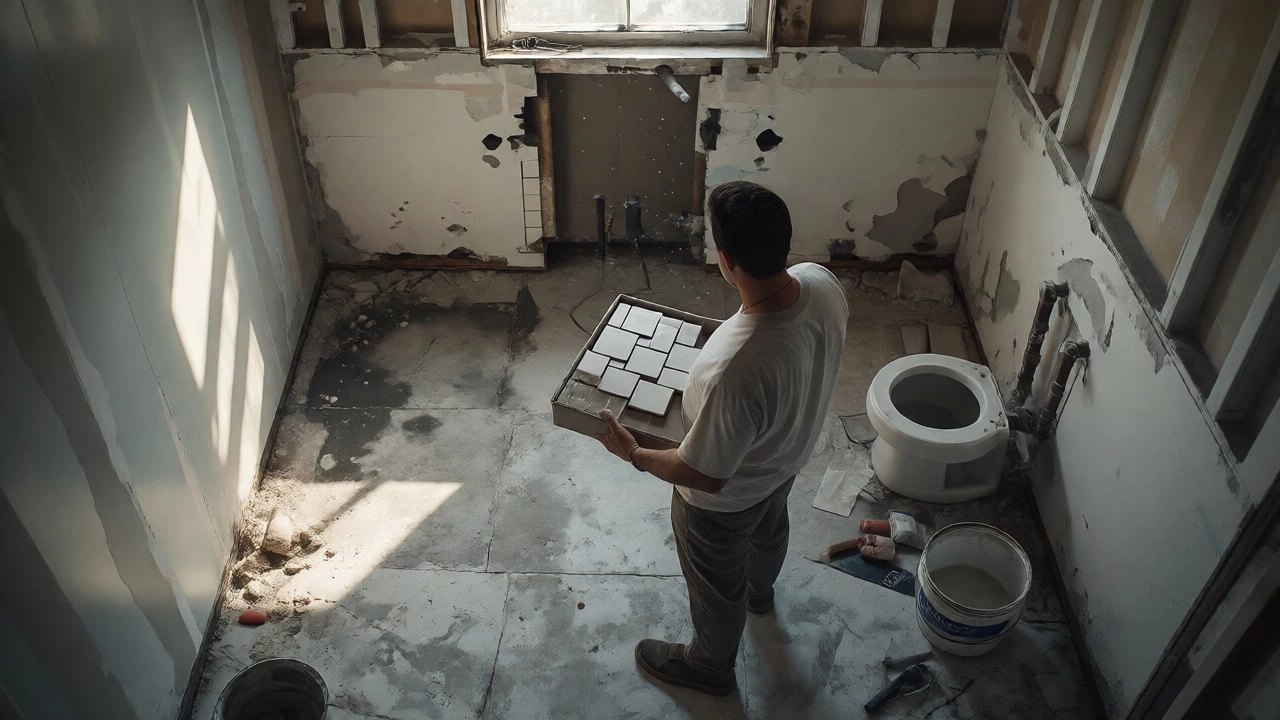
You are standing in your gutted bathroom, holding a box of expensive ceramic tiles, and the question hits you like a cold shower: do I lay the floor or hang the wall tiles first? It’s the classic dilemma that keeps DIYers up at night. Get it wrong, and you might crack your new floor while working on the walls, or worse, create a gap where water sneaks behind the baseboard. There is no single "right" answer that applies to every home, but there is a logic to it that depends entirely on your materials, your subfloor condition, and how much risk you want to take.
The Core Principle: Gravity and Protection
Before we pick a side, let's look at why this debate exists. In construction, we generally work from top to bottom for cleanliness-dust falls down. But in tiling, we often work from bottom to top for structural integrity. The main conflict is protection versus precision. If you tile the floor first, you have to protect it heavily while you work on the walls. One dropped bucket of thinset mortar can ruin hours of polishing. If you tile the walls first, you have to ensure the bottom row doesn't slip into the wet mortar bed below, or if the floor is already laid, you risk damaging the edge during the final trim.
Most professional tilers in Melbourne, and globally, lean towards one specific method for standard renovations, but exceptions exist. Understanding the mechanics helps you decide which path fits your specific project constraints.
Why Most Pros Tile Walls Before Floors
For the vast majority of bathroom remodels, especially those involving ceramic or porcelain tiles, tiling the walls first is the industry standard. Here is why this sequence dominates the trade:
- Gravity is your friend: When you install wall tiles, you start from the second row up (leaving a gap at the bottom). This prevents the weight of the upper rows from pushing the bottom row down into the fresh adhesive. If the floor isn't there yet, you don't have to worry about supporting the bottom row against a hard surface.
- Cleaner Edges: It is easier to cut the last row of wall tiles to fit precisely over the finished floor edge than it is to cut floor tiles to fit under uneven wall bases. You can use a spacer to create a consistent expansion joint, then fill it with silicone later.
- Less Risk of Damage: Working on ladders or step stools is safer when the floor below is bare concrete or plywood rather than delicate polished stone. You won't scratch a new floor with ladder feet or drop tools on it.
This method assumes your subfloor is ready and level. If you are replacing the subfloor as part of the remodel, you will likely install the backer board for the floor, then move to the walls, leaving the final floor covering until the end.
When You Should Do the Floor First
While walls-first is the default, there are scenarios where flooring comes first. This usually happens when you are dealing with viny plank flooring (LVP), laminate, or engineered wood. These floating floors need to expand and contract, so they cannot be glued down permanently under the toilet or vanity cabinets. If you are installing a floating floor, you must lay it down before installing fixed elements like vanities, but the relationship with wall tiles gets tricky.
Another common exception is when using large-format slabs. If you are installing massive 1200x600mm slabs on the walls, the logistics of lifting them into place without scratching an existing floor can be a nightmare. However, many pros still prefer walls first here too, using heavy-duty protective blankets. The real deal-breaker for walls-first is if your subfloor requires significant leveling that takes days to cure. You can't leave the bathroom unusable for a week just waiting for self-leveling compound to dry if you've already tiled the walls. In tight timelines, some contractors lay the floor early to allow traffic while other trades finish electrical or plumbing rough-ins near the ceiling.
The Critical Role of Waterproofing
In Australia, and specifically in Victoria where standards are strict, waterproofing is non-negotiable in wet areas. According to Australian Standard AS 3740, waterproof membranes must extend up the walls by at least 150mm above the finished floor level. This creates a dependency chain. You must apply the membrane to the floor and lap it up the walls before any tiling begins.
If you tile walls first, you have to be incredibly careful not to puncture the membrane at the junction. If you tile floors first, the membrane is fully cured and protected by the tile bed. This is a strong argument for doing the floor first if you are inexperienced with membrane handling. However, most pros apply the membrane, let it cure, then tile walls, taking care to embed the bottom edge of the wall tile into the sealant bead applied over the membrane overlap.
Step-by-Step Guide: The Walls-First Method
If you decide to go with the recommended walls-first approach, here is how to execute it without creating a mess:
- Prep the Subfloor: Ensure the floor is clean, level, and primed. Install cement sheeting if needed, but do not lay the final floor tiles yet.
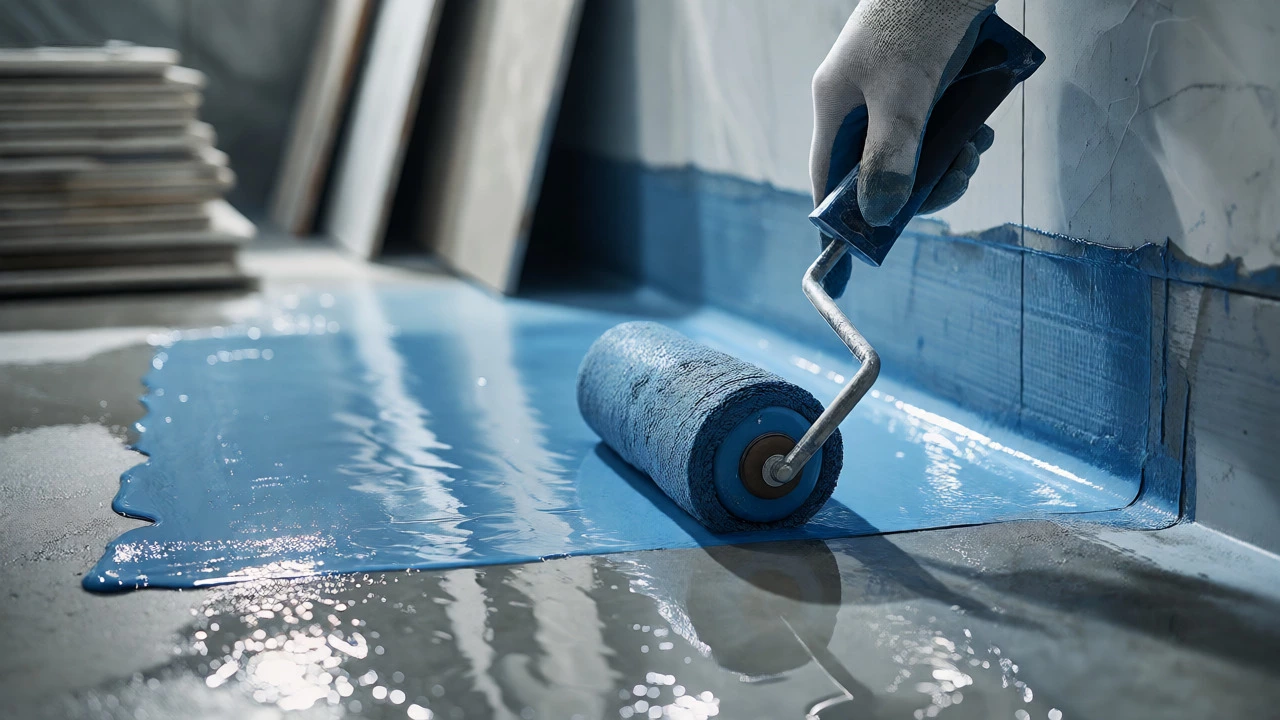
- Apply Waterproofing: Paint the liquid membrane across the floor and up the walls. Let it cure completely according to the manufacturer's instructions (usually 24-48 hours).
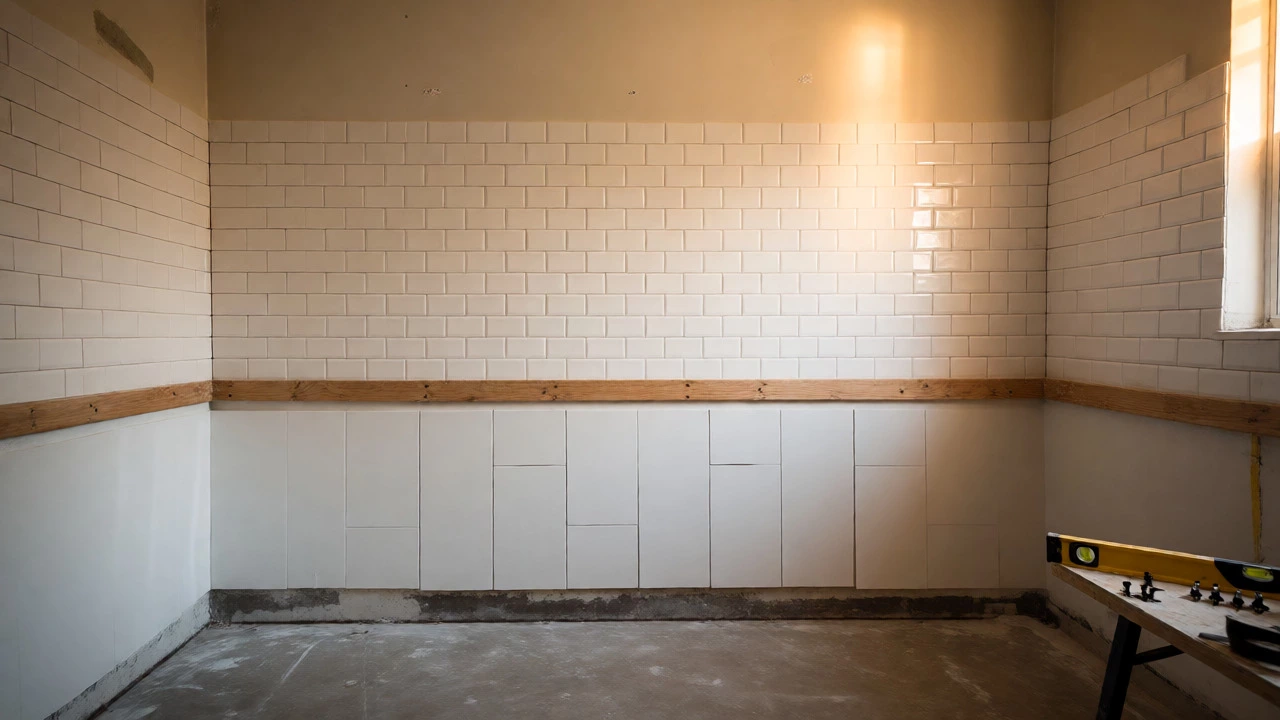
- Install Wall Battens: Fix a straight timber batten horizontally around the room, one full tile height above the intended floor level. This supports the weight of the tiles while you work upward.
- Tile Upwards: Start your first row of wall tiles on the batten. Work your way up to the ceiling.
- Lay the Floor: Once the wall tiles are grouted and cleaned, remove the battens. Now, lay your floor tiles. Cut the bottom row of wall tiles off? No! Leave them hanging. You will cut the floor tiles to fit snugly against the wall tiles.
- Final Trim: Use a silicone sealant to fill the gap between the floor and wall tiles. This allows for movement and prevents water ingress.
Step-by-Step Guide: The Floor-First Method
If you choose to do the floor first, perhaps because you are using vinyl planks or want to walk freely in the space, follow these adjustments:
- Complete Floor Installation: Lay all floor tiles or planks. Allow adhesives to cure fully.
- Protect Aggressively: Cover the entire floor with corrugated cardboard, then a layer of builder's paper, and finally a plastic drop cloth. Tape the seams shut. This is not optional; thinset drips are brutal to remove from porous stone.
- Install Wall Tiles: Hang your wall tiles, starting from the top or using a support rail. Be mindful that you now have a solid surface below. If you drop a tool, it will bounce and potentially chip the floor.
- Bottom Row Adjustment: When you reach the bottom row of wall tiles, measure carefully. You may need to scribe the tiles to match the contour of the floor if it isn't perfectly flat. This is harder than cutting floor tiles to fit under a straight wall line.
- Seal the Joint: Apply silicone along the perimeter.
Comparing the Methods: A Quick Reference
| Factor | Walls First (Recommended) | Floor First |
|---|---|---|
| Risk to Finished Surface | Low (Floor is bare) | High (Requires heavy protection) |
| Edge Precision | Easier to cut floor tiles to fit | Harder to scribe wall tiles to floor |
| Workability | Easier to move ladders/scaffolding | Safer footing if floor is solid |
| Waterproofing Integrity | Requires careful sealing at joint | Membrane protected by tile bed |
| Best For | Ceramic/Porcelain, DIYers | Vinyl/Laminate, Tight Timelines |
Common Pitfalls to Avoid
One major mistake people make is ignoring the expansion joint. Whether you do walls or floor first, you never grout the corner where the two surfaces meet. Grout is rigid; bathrooms move. If you grout that corner, it will crack within months due to thermal expansion or minor settling. Always use a color-matched silicone caulk. This flexible seal absorbs movement and keeps water out.
Another pitfall is rushing the waterproofing cure time. In Melbourne's cooler months, humidity can slow down curing. If you tile over damp membrane, you'll trap moisture, leading to mold growth behind the tiles years later. Check the weather forecast and give yourself extra time. It's better to wait an extra day than to rip out a failed job.
Finally, consider the toilet flange. If you are keeping the existing toilet location, the flange height matters. If you raise the floor height significantly, the flange may need to be raised. Doing this after the floor is laid is difficult. Many plumbers recommend setting the flange height based on the planned floor thickness before you even start tiling. Coordinate with your plumber early.
Special Cases: Stone and Large Format Tiles
If you are using natural stone like marble or travertine, the rules shift slightly. These materials are softer and more prone to staining. Doing the floor first means you have to seal the floor extensively before walking on it to install wall tiles. Any spill of acidic cleaner or grout haze can etch the stone. Walls-first minimizes foot traffic on the precious stone floor until the very end. For large format tiles, handling equipment like suction cups and lifters works better on a bare subfloor than on a slippery finished surface. Again, the consensus leans toward walls-first for high-end materials.
Conclusion: Make Your Choice Based on Risk
So, do you do walls or floor first? For 90% of bathroom remodels involving tile, do the walls first. It protects your investment, simplifies the cutting process, and aligns with professional best practices. Only switch to floor-first if you are using floating floors like vinyl, or if your project timeline demands immediate access to the floor area. Regardless of your choice, prioritize waterproofing integrity and remember to leave that crucial expansion joint flexible. Plan ahead, protect your surfaces, and you'll avoid the headaches that plague so many amateur renovators.
Can I tile the floor and walls at the same time?
It is possible but rarely recommended for DIYers. Working simultaneously increases the risk of damaging the freshly laid floor while moving around to tile the walls. It also makes it difficult to manage adhesive open times, as floor tiles require larger coverage areas than wall tiles. Staging the work allows each section to set properly without interference.
What if my subfloor is uneven?
You must level the subfloor before tiling, regardless of the order. Use a self-leveling compound to create a flat surface. If you tile walls first, ensure the leveler has fully cured before starting wall work to prevent cracking from vibration. If you do floor first, the leveling is done immediately before laying the floor tiles, allowing you to check for flatness as you go.
Do I need to remove the toilet before tiling?
Yes, absolutely. Never tile around a toilet. You must remove the toilet to tile underneath it properly. Leaving gaps around the base traps urine and water, causing rot and bad smells. Remove the toilet, tile the floor continuously, and reinstall the toilet on the new surface with a fresh wax ring or gasket.
How long should I wait between waterproofing and tiling?
Check the manufacturer's technical data sheet. Typically, liquid membranes need 24 to 72 hours to cure fully depending on temperature and humidity. In Melbourne winters, this could take longer. Performing a flood test after curing is the best way to verify integrity before covering it with tiles.
Is it cheaper to do walls or floor first?
The material cost is identical. Labor costs may vary slightly if you hire professionals. Some tilers charge less for walls-first because it is faster and safer for them. DIYers save money either way, but walls-first reduces the likelihood of costly mistakes like cracked floor tiles or poor edge finishes.