Renovation Sequence Planner
Click on a phase below to mark it as complete. Phases must be completed in order to unlock subsequent steps, reflecting real-world construction dependencies.
Structural & Weatherproofing
Roof, Gutters, Foundation, Windows/Doors. Secure the shell first.
Hidden Systems (Rough-Ins)
Electrical wiring, Plumbing pipes, HVAC ducts. Install before closing walls.
Insulation & Drywall
Seal the envelope. Insulation, vapor barriers, plasterboard, mudding, sanding.
Hard Surfaces & Flooring
Paint ceilings/walls first, then install flooring (top-to-bottom rule).
Cabinetry, Counters & Trim
Install kitchen/bath cabinets, countertops, baseboards, and door casings.
Fixtures & Finishing Touches
Light fixtures, faucets, hardware, deep cleaning, and furniture placement.
You have the budget. You have the dream designs pinned on Pinterest. But if you start ripping out kitchen cabinets before fixing the roof, you are asking for disaster. The order of renovations is not just a suggestion; it is the backbone of a successful project. Getting this sequence wrong leads to double work, wasted money, and headaches that could have been avoided with a simple plan.
Think of your house like a human body. You wouldn't put on makeup before fixing a broken leg. You need structural integrity first, then systems (the veins and arteries), then insulation (the skin), and finally, decoration (the clothes). This guide breaks down exactly how to sequence your project so you don't end up tearing out new drywall because a plumber needed to fix a leak behind it.
Why Sequence Matters More Than Speed
Most homeowners want to see visible progress immediately. They start with the fun stuff: painting walls, installing new flooring, or swapping out light fixtures. This is a trap. If you install beautiful hardwood floors and then realize you need to upgrade your electrical wiring, you will either rip up the floors or run ugly surface conduits. Renovation is a cascade effect. Decisions made in step one dictate what is possible in step ten.
There is a strict logic to construction. Work flows from the top down and from the inside out. Gravity dictates that water damage comes from above, so roofs and gutters must be addressed before interior ceilings. Systems hidden within walls must be installed before those walls are closed up. Ignoring this physics-based reality is the number one cause of budget overruns.
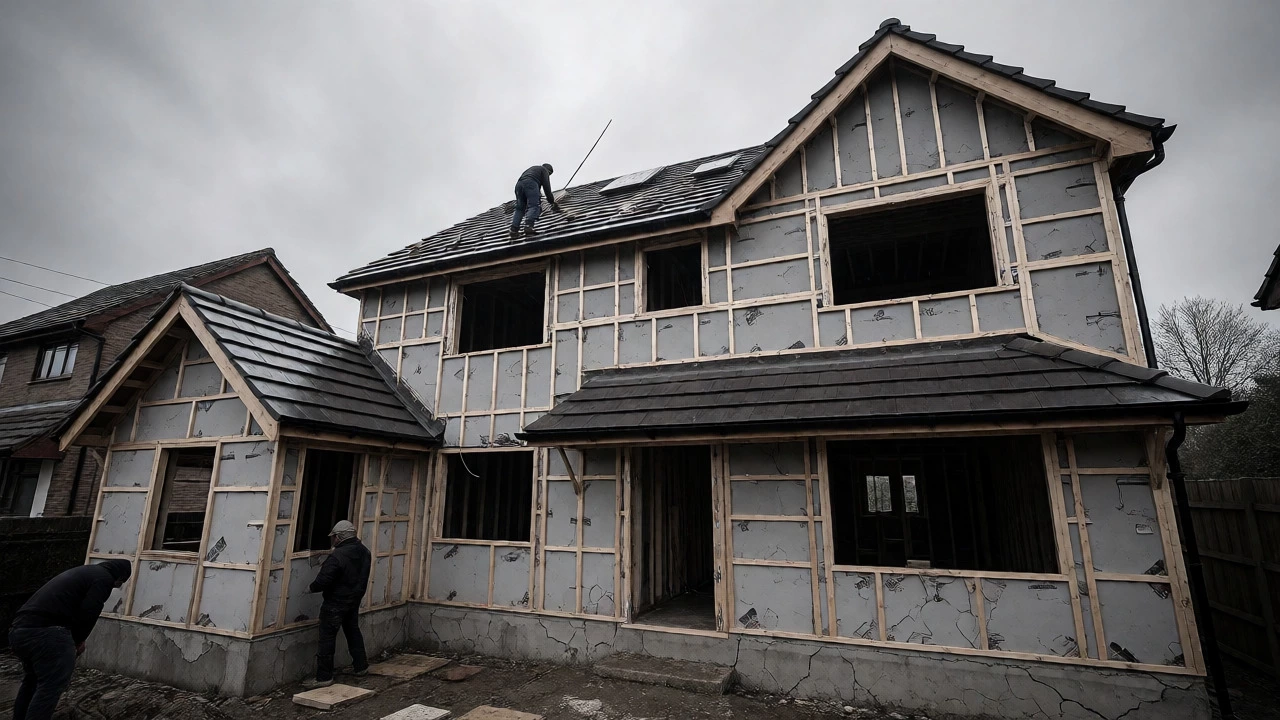
Phase 1: Structural Integrity and Weatherproofing
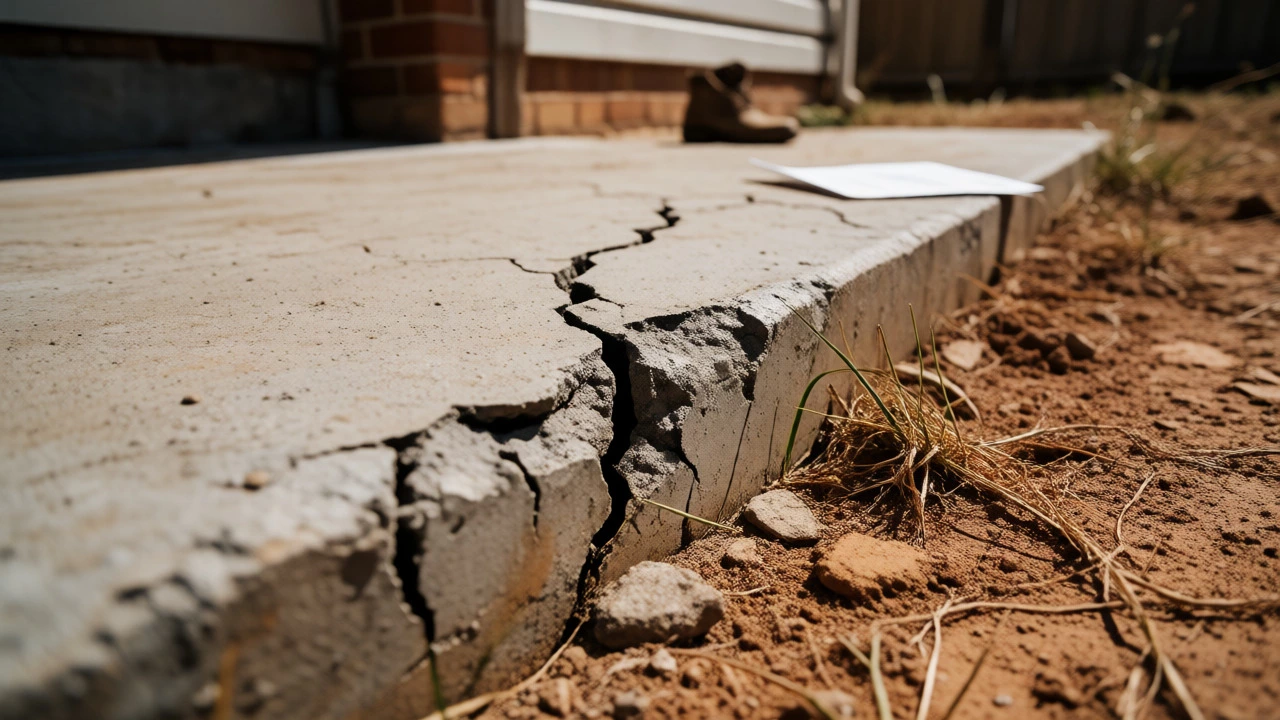
Before you think about tile colors, you need to ensure the shell of your home is sound. This phase is unglamorous but critical. If your foundation is shifting or your roof is leaking, no amount of cosmetic upgrades will save your investment.
- Roof and Gutters: Fix leaks immediately. Water is the enemy of every other material in your house. A dripping roof can rot trusses, stain ceilings, and mold insulation.
- Foundation and Framing: Address any cracks in the foundation or issues with load-bearing walls. If you are removing a wall to open up an open-plan living area, this happens now. Install beams and headers before any finishing touches.
- Windows and Doors: Replace these early to secure the site and improve energy efficiency. New windows change the exterior profile, which might affect siding or trim decisions later.
By securing the envelope, you protect the expensive interior work that follows. It also allows tradespeople to work without worrying about weather damaging their materials.
Phase 2: Hidden Systems and Rough-Ins
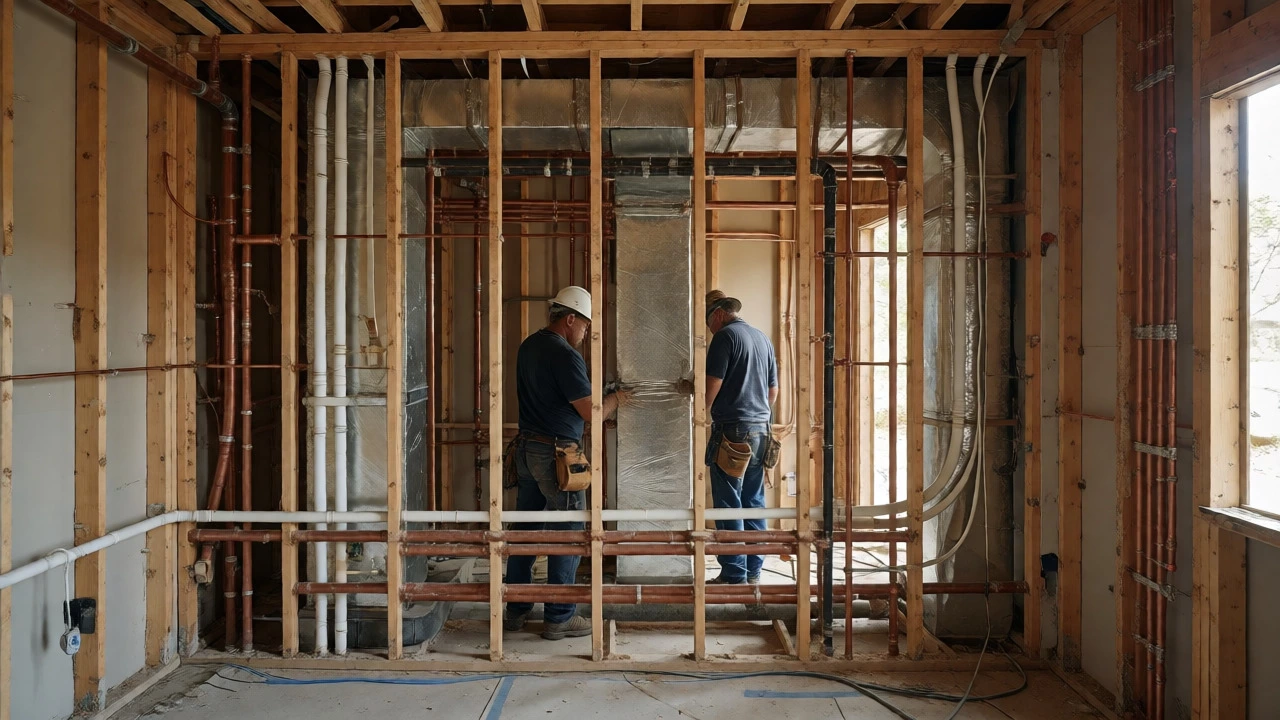
Once the structure is solid, you go into the walls. This is where plumbing, electrical, and HVAC systems live. Once you close up the walls, accessing these systems becomes incredibly expensive and destructive.
| System | Action Required | Timing Constraint |
|---|---|---|
| Electrical | Run wires, boxes, and panels | Before insulation and drywall |
| Plumbing | Rough-in pipes, drains, vents | Before framing closure |
| HVAC | Ductwork installation | Before ceiling drywall |
Coordinate with all three trades simultaneously. Electricians and plumbers often share wall cavities. If they don't talk, they fight for space. Get them scheduled in the same week if possible. Inspectors usually require approval of these rough-ins before you are allowed to install insulation. Do not skip this inspection; failing it means opening up fresh drywall again.
Phase 3: Insulation and Drywall
With the guts in place, you seal the house. Insulation goes in first, followed by vapor barriers if required by your local climate code. In Melbourne, proper insulation is vital for both summer heat and winter cold. Choose the right R-value for your walls and ceiling.
Next comes drywall (also known as plasterboard). This transforms the skeleton into rooms. Hanging drywall is dusty and messy. Expect debris everywhere. After hanging, you have taping, mudding, and sanding. This process takes time. Rushing it results in wavy walls and visible seams under lighting. Let the mud cure properly before moving to paint.
Phase 4: Hard Surfaces and Flooring
Now the house starts looking like a home. The general rule here is "top to bottom." Paint the ceilings and walls first, then install the floors. Why? Because painting involves ladders and drips. If you lay pristine carpet or polish concrete floors first, you risk ruining them with paint splatters or ladder scuffs.
However, there is an exception for kitchens and bathrooms. Tile work is wet and heavy. Often, contractors prefer to tile the floor before installing cabinetry to prevent moisture getting trapped under cabinets. Discuss this with your installer. For most living areas, however, finish the walls first, then lay the flooring. It creates a cleaner edge and protects the new floor during final trim work.
Phase 5: Cabinetry, Countertops, and Trim
This is the phase where functionality meets aesthetics. Kitchen cabinets and bathroom vanities are installed. These are permanent fixtures that define the room's layout. Measure twice, cut once-literally. Custom cabinetry requires precise measurements, which should only be taken after the subfloor and walls are finalized.
Countertops follow cabinet installation. They need to sit perfectly level on the base units. While countertops are being fabricated (which takes weeks), install the interior trim: door casings, window sills, and baseboards. Painting trim is easier when it is off the wall, but many pros prefer to install it first and paint it in place for a seamless look. Just ensure you mask the new flooring carefully.
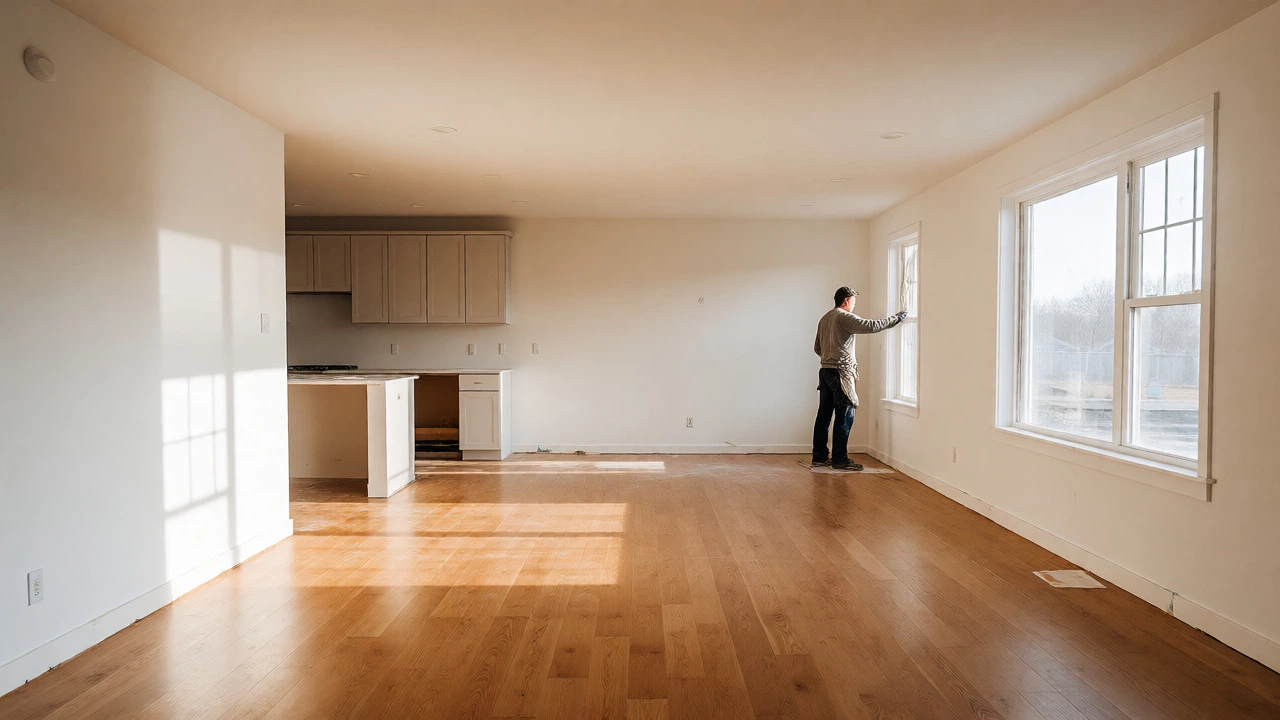
Phase 6: Final Fixtures and Finishing Touches
The last mile is surprisingly short but detail-heavy. This includes installing light fixtures, faucets, doorknobs, and hardware. These small elements tie the design together. Test everything. Turn on every tap, flush every toilet, flip every switch.
Cleanliness is part of the renovation. Professional cleaning removes construction dust that settles in crevices. Only after the deep clean should you bring in furniture and soft furnishings. The smell of fresh paint and sawdust is nostalgic, but you don't want it clinging to your new sofa.
Common Pitfalls to Avoid
Even with a plan, things go wrong. Here are the mistakes I see most often in Australian renovations:
- Ignoring Asbestos: If your home was built before 1990, assume asbestos exists until proven otherwise. Disturbing it releases fibers. Get a survey before demolition.
- Underestimating Lead Times: Custom windows or imported tiles can take months. Order long-lead items during Phase 1, even if you won't install them until Phase 5.
- Skipping Permits: Structural changes and plumbing alterations usually require council permits. Doing it without approval can lead to fines or problems when selling the house.
Quick Summary / Key Takeaways
- Always fix the structure and roof before touching interiors.
- Complete all hidden systems (plumbing, electric) before closing walls.
- Paint walls before installing most types of flooring to avoid damage.
- Install cabinets and counters after the hard surfaces are set.
- Save delicate fixtures and cleaning for the very end.
Can I renovate multiple rooms at once?
Yes, but keep them in the same phase. For example, you can rough-in plumbing for two bathrooms simultaneously. However, trying to do structural work in one room while installing flooring in another creates logistical nightmares and cross-contamination of dust and tools.
Do I need to move out during a full renovation?
For a full gut renovation involving structural work, plumbing, and electrical, yes. The noise, dust, and lack of utilities make it impractical. For minor updates like painting or replacing fixtures, you can usually stay, provided you isolate the work zone.
What if I find rot or pests during demolition?
This is common. Set aside a contingency fund of 10-20% of your total budget specifically for unexpected repairs. Stop the current trade, address the structural issue, and then resume. Trying to patch it superficially will cost more later.
Should I replace windows before or after siding?
If you are replacing siding, install windows first. This ensures the flashing integrates correctly with the new siding layers, preventing leaks. If you are keeping existing siding, you can replace windows at any stage, but doing it early helps with weatherproofing.
How long does each phase typically take?
It varies wildly by size. Structural fixes might take a week. Rough-ins take 2-3 weeks. Drywall and painting can take 3-4 weeks due to drying times. Kitchens alone can take 6-8 weeks from demo to completion. Always add buffer time for delays.