DIY Foundation: Spot Problems, Repair Cracks & Build a Strong Base
Got a weird wiggle in your floorboards or hairline cracks in the wall? Those are often the first signs your foundation needs attention. Fixing foundation issues yourself can save money, but you need the right plan and tools. Below you’ll find the most common problems homeowners see and easy‑to‑follow steps to repair them without calling a pro.
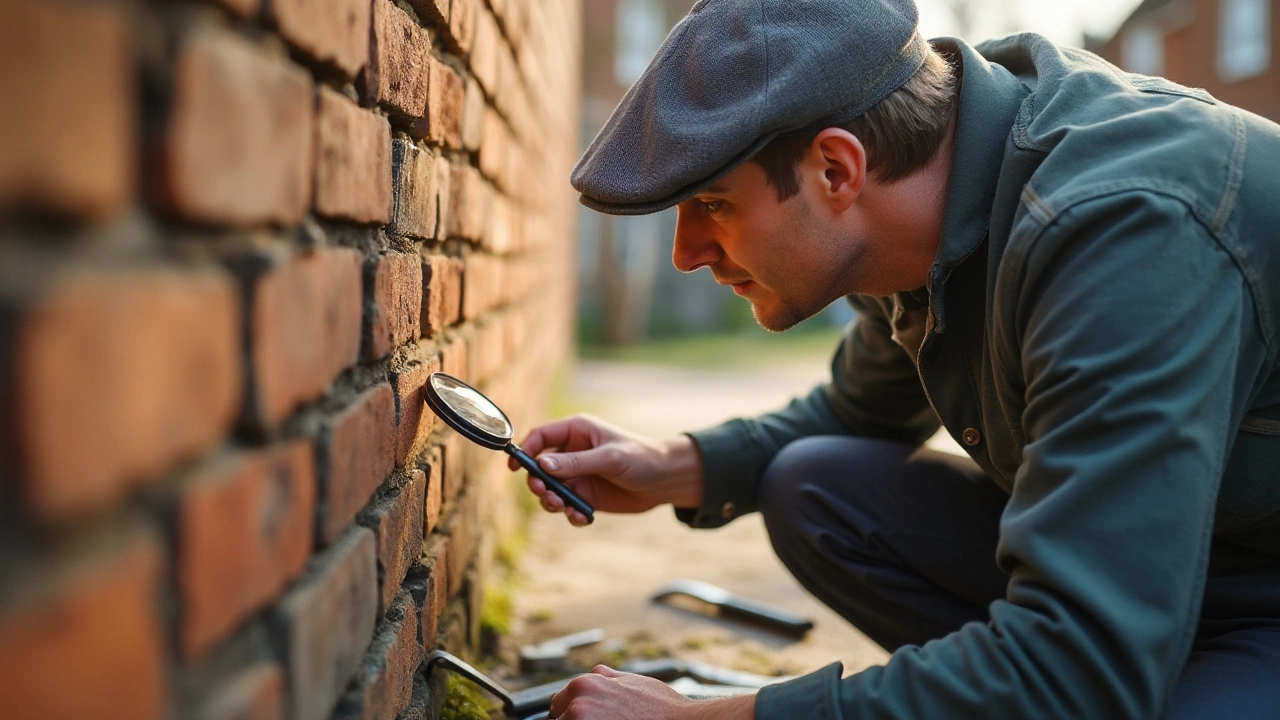
Spotting Common Foundation Issues
First, walk around the outside of your house. Look for uneven dirt, standing water, or gaps between the soil and the siding. Inside, check for doors that stick, windows that won’t close, or floor slopes you can feel with a level. Cracks are the easiest clue: hairline cracks in plaster are usually harmless, but wide, jagged cracks that grow over weeks signal movement.
When you find a crack, measure its width with a ruler. If it’s less than 1/8 inch, a simple epoxy filler will do. Anything wider than 1/4 inch usually needs a more robust method, like installing a carbon‑fiber strap or pouring a small concrete patch. Keep a notebook of where you see each issue and the date; this helps you track whether a problem is getting worse.
Simple DIY Repair Methods
Most DIY foundation repairs start with cleaning the area. Use a wire brush to remove loose material, then rinse with water and let it dry. For small cracks, a two‑part epoxy kit works well. Mix the resin and hardener as the instructions say, then pour or push it into the crack. Smooth the surface with a putty knife and let it cure for the recommended time—usually 24 hours.
If the crack is larger, you’ll need a concrete repair mix. Start by under‑cutting the crack a few millimetres deep with a chisel to create a V‑shaped groove. This gives the new concrete something to bite into. Dampen the groove, then fill it with the mix, pressing firmly with a trowel. Finish with a smooth edge to match the surrounding wall.
For shifting foundations, a carbon‑fiber reinforcement strap can stop movement. Drill two holes on either side of the crack, insert the strap, and secure it with epoxy‑based bolts. This method distributes stress across a larger area and is surprisingly easy with a cordless drill.
After any repair, keep the soil around your house well‑drained. Install a French drain or add a slope away from the foundation to guide water out. Good drainage is the best long‑term defense against new cracks.
Remember, safety first: always wear gloves, goggles, and a dust mask when handling concrete or epoxy. If a problem feels larger than you can manage—like a sinking slab or massive bowing walls—call a structural engineer. But for most hairline cracks and minor shifts, these DIY steps will keep your home stable and save you a bundle.
With the right eye for trouble spots and a few basic tools, you can keep your foundation solid without waiting for a contractor. Start with a quick inspection, note any issues, and tackle them one by one. Your house will thank you, and so will your wallet.