Renovating a bathroom usually sounds expensive—and let's be real, it can be if you go wild with new fixtures and fancy tiles. But here’s the kicker: you don’t need a thick wallet to breathe new life into your bathroom. A few clever changes, a bit of elbow grease, and some smart shopping hacks can get you a serious upgrade without the scary price tag.
Before you even think about knocking down walls or tearing out the tub, stop and make a game plan. Figure out what actually needs to be fixed, what you can live with, and which little changes could have the biggest impact. Sometimes a new coat of paint, a fresher shower curtain, or swapping out those sad-looking taps will make the room feel brand new. Plus, prioritizing helps you avoid the trap of buying stuff you don’t need or starting projects you won’t finish.
- Plan Before You Spend
- Upgrade Without Replacing
- Shop Smart for Materials
- DIY Projects That Actually Work
- Cutting Costs Without Cutting Corners
Plan Before You Spend
This is where your whole bathroom renovation either saves you money or blows your budget. Most people start shopping before they know what they actually need, and trust me, that’s how you end up with boxes of expensive tiles you never use.
First things first, take a good look at your bathroom. Write down what genuinely needs fixing, what just annoys you, and what’s actually fine. You might be surprised by how much you could leave as-is. Think: does the toilet actually need replacing, or does it just need a new seat and a deep clean?
Don’t make decisions on a whim. Go around your bathroom with a notepad or your phone and snap photos and make a quick wish list. Once you’ve got your list, break it down into “must-do” and “nice-to-have.” This way, you can focus your dollars on things that will really change the vibe or fix problems.
Here’s what a basic cost breakdown for budget renovations can look like, according to a 2024 UK home improvement survey:
| Upgrade | Average DIY Cost (£) | Average Pro Cost (£) |
|---|---|---|
| Painting walls | 60 | 250 |
| Changing taps | 40 | 120 |
| Replacing toilet seat | 25 | 80 |
| New mirror | 30 | 85 |
| Basic vinyl flooring | 100 | 350 |
Once you've figured out your priorities, set a realistic budget and stick to it. Decide how much you can actually spend—not your dream number, but your real one. Don’t leave this step vague. Create a spreadsheet or jot it down, then list out all your must-do items and estimate what each will cost. Use real prices from actual stores, not just random guesses.
If you feel clueless on how to structure your budget, here’s a quick tip from Sarah Beeny, UK property expert:
“Spend your money where it’s most needed—on things you touch every day, like taps, handles, and surfaces. Everything else you can usually make do or freshen up.”
Planning this way stops you from getting distracted by shiny things and overspending. The plan isn’t set in stone, but it’s your safety net. Change your plan only when you have a great, wallet-friendly reason to do so.
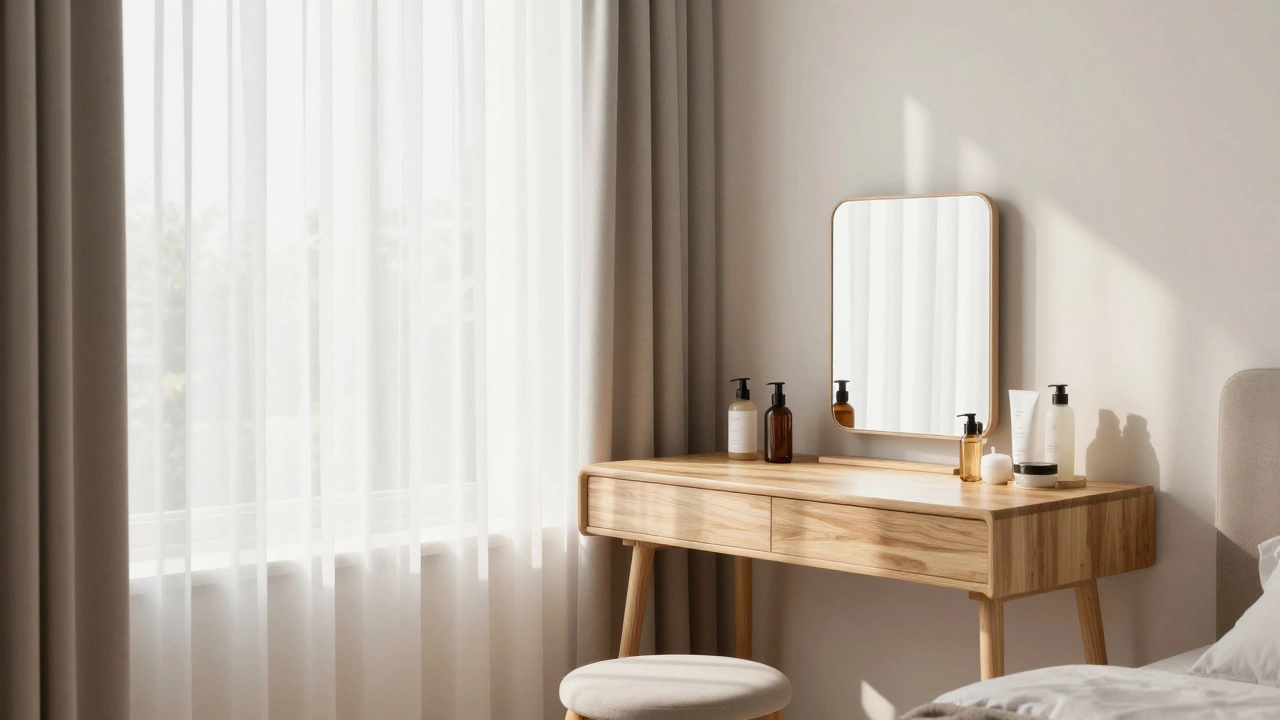
Upgrade Without Replacing
You don’t have to haul out every old fixture to get a bathroom that looks sharp. Upgrading without full replacement can be way more affordable—and if you play it right, no one will even notice you skipped the pricey stuff.
Let’s start with hardware. Swapping out cabinet handles, toilet roll holders, and those wobbly towel bars can make a surprising difference. You’ll find decent-looking sets at home improvement stores for under £20. Don’t forget light fixtures; a modern shade or even just new bulbs (try warm white LEDs) can completely change the mood in here.
If your vanity or cabinet’s looking tired, you can paint or refinish it instead of buying new. Use a good primer, a hardwearing top coat, and new knobs to pull it all together. A small tin of furniture paint usually does the trick. Tiles looking grim? Skip the expensive retiling and go for tile paint or peel-and-stick tile covers. Tile paint works over ceramic, just clean surfaces and follow instructions for best results. Peel-and-stick tiles have gotten way better—they’re fast, easy, and the best part, peel off clean if you move out or change your mind.
Grout is another easy win. Dingy grout lines make any bathroom look tired. There are grout pens and cleaners in the cleaning aisle that brighten things up in under an hour. For a few quid, it honestly feels like a whole new floor.
Lastly, tubs and sinks. Unless they’re cracked or badly stained, you can actually resurface them. Epoxy or refinishing kits for tubs and sinks cost a fraction of what new ones do and most big DIY stores carry them. It’s a weekend project, but way cheaper than full replacements.
- Replace small accessories like faucets, handles, and mirrors for a quick facelift.
- Paint, don’t replace cabinets and even tiles, using proper primers and paints.
- Freshen up grout with pens or deep cleaner to restore neat lines.
- Try tub-and-tile resurfacing kits before you call in a plumber or start shopping for new hardware.
When it comes to a bathroom renovation, sometimes updating what you already have beats ripping it all out. The results might surprise you—and your wallet will definitely notice.
Shop Smart for Materials
This is where the real savings start. You can spend a fortune on bathroom materials if you just walk into a big box store and buy everything at sticker price. The trick? Know exactly what you need, look for deals, and don’t be shy about checking less obvious places.
Check out clearance sections in home improvement stores—new stock means last season’s items can get marked down by 50% or more. You’ll often find good-quality taps, handles, and even vanities sitting there, waiting for a second chance. If your timing is right, you can snatch a designer faucet for the cost of a cheap generic one.
- Don’t overlook salvage yards and architectural reuse stores like Habitat for Humanity’s ReStore. You can score gently used sinks, cabinets, and tile for a fraction of retail price.
- Sign up for store email lists. That way, you get a heads-up on upcoming sales or exclusive coupons.
- Look at online marketplaces—think Facebook Marketplace or Craigslist. Sometimes people give away leftover tiles or barely-used fixtures just to clear their garage.
- When it comes to paint, many stores mix "oops" colors that get heavily discounted. If you’re flexible about shades, this can save you enough to upgrade somewhere else.
An industry insider from ReStore once told me,
"If you’re not checking secondhand stores, you’re missing half the fun—and most of the bargains. The average shopper can save 30-70% on gently used bathroom fixtures."
If you’re investing in new tile or flooring, buy just 10% extra to cover mistakes or chips—no need to pay for piles of leftovers. And always check the return policy before loading up your cart; some stores let you bring back unopened boxes.
| Material | Typical Retail Price (£) | Average 'Discount Source' Price (£) |
|---|---|---|
| Vanity Unit | 300 | 80 - 150 |
| Faucet/Taps | 120 | 35 - 60 |
| Ceramic Tiles (per sq. m) | 25 | 8 - 15 |
| Mirror | 40 | 10 - 18 |
When you shop smart and compare prices, that bathroom renovation budget stretches much further. Getting creative with your sources is how you change the game—and walk away with a bathroom that looks a whole lot pricier than it really was.
DIY Projects That Actually Work
Let’s get real—some DIY projects look great on Pinterest but crash and burn in real life. But when it comes to bathroom renovation, there are a few upgrades almost anyone can pull off and actually save a good chunk of cash.
- Painting Tiles and Walls: Skipping tile replacement saves hundreds. Instead, scrub your tiles, tape off what you don't want splattered, and slap on some tile paint. Make sure to get a paint that's moisture and mildew resistant. You can also repaint the walls with a light, clean color to brighten up the space instantly.
- Hardware Swaps: Think faucets, handles, and towel bars. Swapping these is usually a screwdriver job, but it makes the place look and feel less tired. Matte black or brushed nickel finishes are trendy and surprisingly affordable online.
- DIY Vanity Facelift: Instead of buying a new vanity, paint it. Add peel-and-stick tiles to the sides or surface, swap out the knobs, and you might fool people into thinking it’s new. Sand and prime if you want the paint job to last.
- Shower Upgrade: New showerheads can cost under $30 and save water in the long run. Some even install without tools. While you’re at it, add a stick-on shower caddy or waterproof Bluetooth speaker for modern touches.
- Lighting Magic: Replacing dated light fixtures yourself—like those 90s ‘Hollywood’ vanity bulbs—can make the bathroom feel modern. It’s an easy DIY as long as you turn off the breaker first for safety.
Want to see how much these swaps can save? Check out this quick table with average costs when done DIY vs. hiring a pro or replacing with new:
| Project | DIY Cost | Professional / Full Replacement |
|---|---|---|
| Paint tile/wall | $40–$90 | $500+ |
| Replace faucet/handles | $25–$60 | $200+ |
| Refresh vanity | $20–$70 | $400+ |
| New showerhead | $20–$50 | $120+ |
| Light fixture update | $30–$75 | $250+ |
Quick tip: If you get stuck, YouTube is packed with how-to videos for just about every project in the table. Double check reviews and tutorials before you buy supplies, and never mess with wiring or plumbing beyond your comfort level. If it feels like more than a weekend job or could ruin the bathroom, maybe that’s the one to call a pro for.
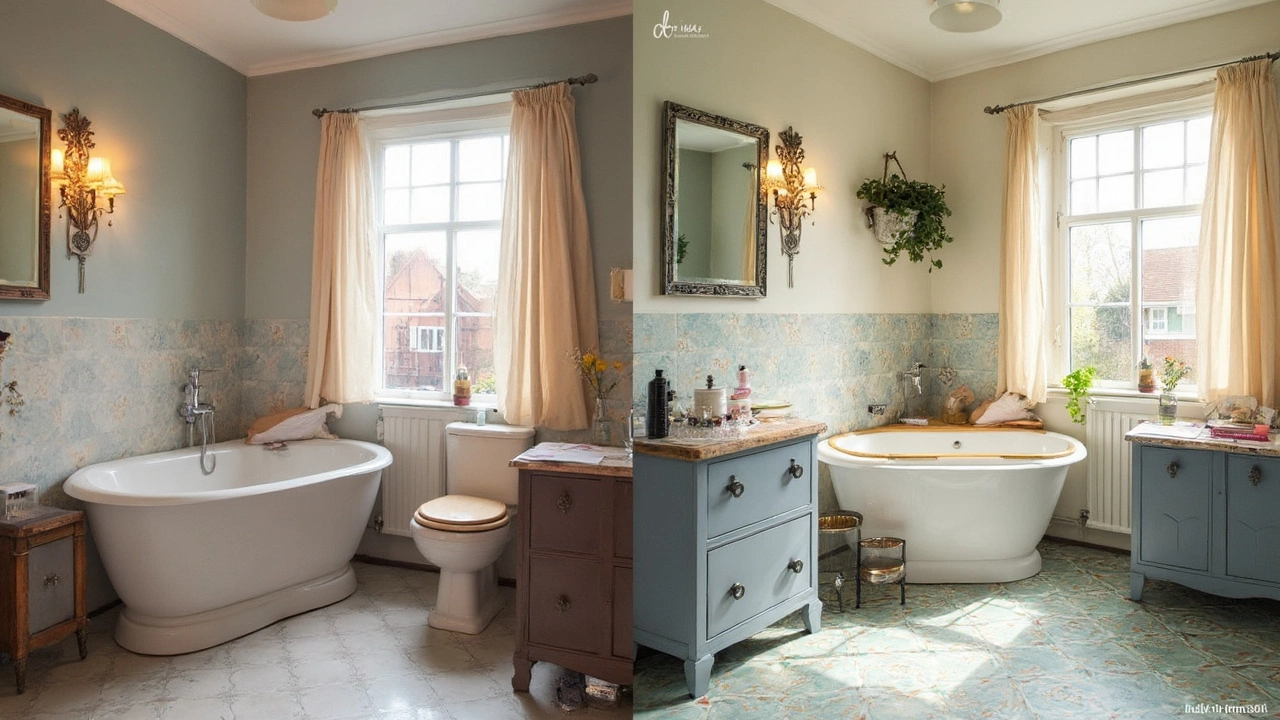
Cutting Costs Without Cutting Corners
The biggest fear about going cheap? You’ll end up fixing mistakes later or feel like your bathroom is held together by duct tape. But you can save real money and still get a result you’re not embarrassed to show off. It’s all about choosing where to save and where to spend just a little more.
First, don’t mess with your bathroom’s plumbing layout unless you absolutely have to. Moving toilets or sinks can drive up costs fast—by as much as 30%, thanks to rerouting pipes and hiring pros. Stick to cosmetic changes like new fixtures or paint for the biggest impact at the lowest price.
- Bathroom renovation tip: Focus on things that get noticed—faucets, lighting, and cabinet handles. Small swaps can totally change the look.
- Paint is your superpower. One gallon and a Saturday is all you need for a big transformation. Stick to moisture-resistant paint for durability.
- Cheap doesn’t mean flimsy. When you buy items like towel racks, read reviews and check weight limits before you click 'add to cart.'
One hack that doesn’t get enough love: using peel-and-stick floor tiles. These cost a fraction of real tile and you can install them yourself—saving on supplies and labor. If you want to tile the shower, consider tiling only halfway up the walls or adding an accent strip. This gets you the designer look, but you buy way fewer tiles.
Need more proof this stuff works? Here’s a quick breakdown of typical bathroom costs showing how strategic choices keep you out of trouble:
| Remodel Task | Average Pro Cost (GBP) | DIY/Smart Swap (GBP) |
|---|---|---|
| Full suite replacement | £3,000 – £7,000 | Reuse suite, change taps or panels (£250 – £500) |
| Retiling floor | £800 – £1,500 | Peel-and-stick tiles (£100 – £200) |
| Painting walls | £300 (pro paint + materials) | DIY paint (£40 – £60) |
| Cabinet replacement | £400 – £1,200 | Paint/hardware upgrade (£50 – £150) |
One final tip: if you’re not handy, don’t fudge the big stuff. Save on jobs you can do, but bring in a pro for electrics and plumbing. Messing these up can end up costing double.