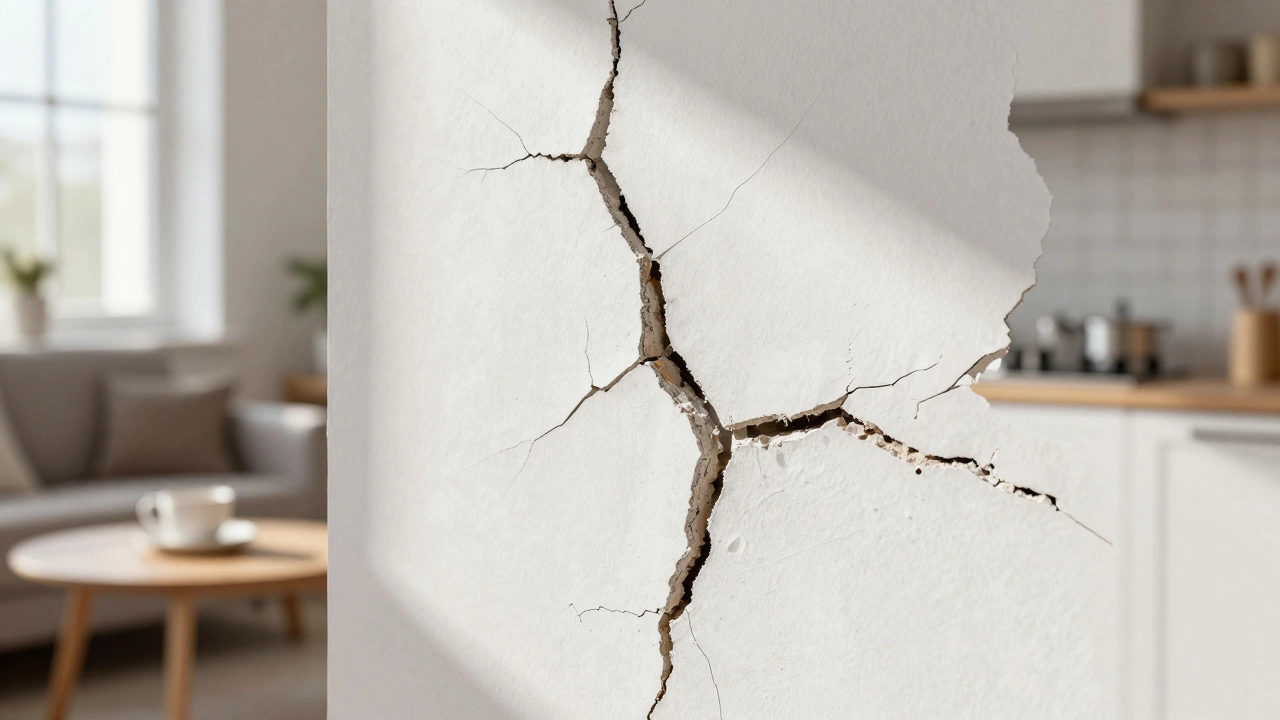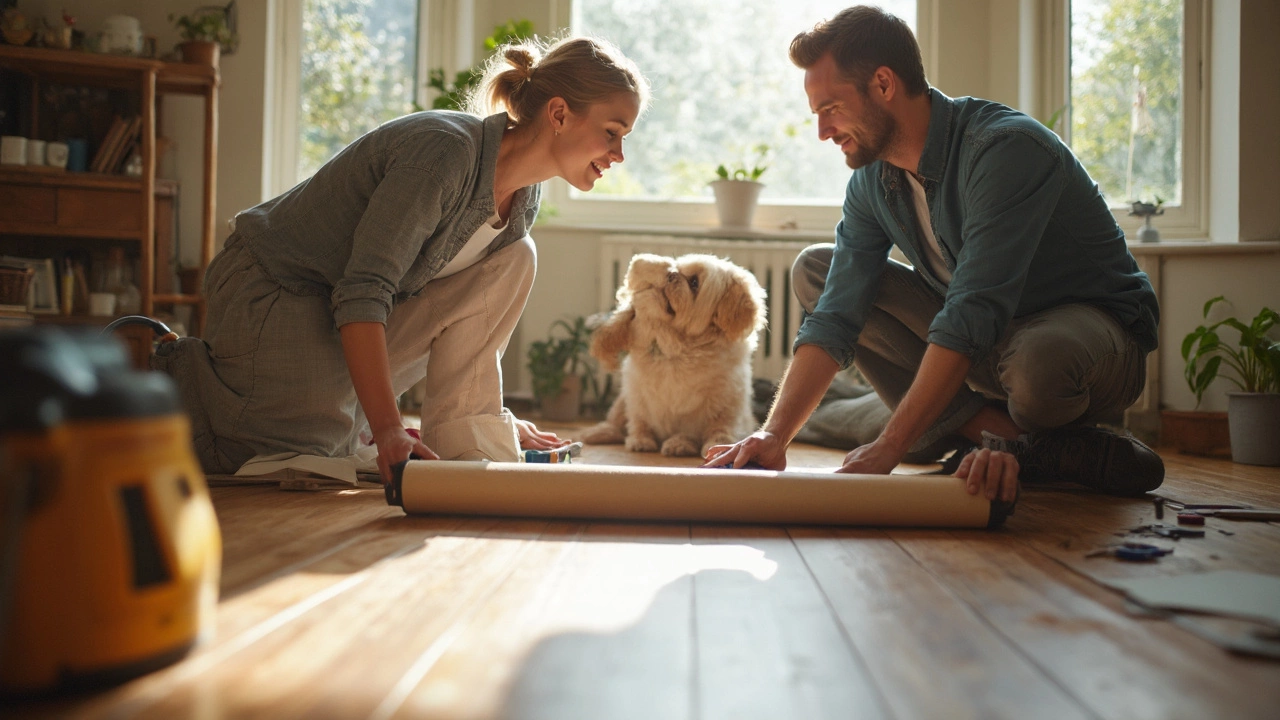
So you’re sick of staring at old, beat-up floors but you’re not exactly a pro with power tools? Been there. Let’s be honest—hiring out can get expensive fast, and not everyone has weekends to waste ripping up their whole living room. Luckily, a few flooring choices are almost shockingly simple to put down, even if your DIY resume is just changing light bulbs and assembling flat-pack furniture.
Here’s the real deal: the easiest floors to lay don’t need fancy equipment or weird skills. Most of them are “floating” designs or peel-and-stick, which means you can usually skip the glue or nails. You just click, stick, or snap them together. If you can measure, cut straight (mostly), and follow easy instructions, you’re golden.
But don’t just grab whatever’s cheapest from the hardware store. Different options work better depending on if you’ve got pets running around (like my cat Luna, who treats the hall like a drag strip) or if you want something you can uninstall easily later. Some “easy” styles also hide dirt and scratches better than others. We’ll break down which options are truly beginner-friendly and which ones you might regret.
- Why Easy Matters: The Real Deal with DIY Floors
- Top Flooring Types for Hassle-Free Installation
- Tips Before You Roll Up Your Sleeves
- Pet Owners and Heavy Traffic: What to Pick
- Tricks to Make It Look Pro-Level
Why Easy Matters: The Real Deal with DIY Floors
Let’s cut to the chase: picking the easiest flooring to put down saves you time, money, and a ton of frustration. Tons of DIYers end up hating their project halfway because they picked something way above their skill level. Smooth install means you don’t need to buy weird tools or spend days crawling through YouTube tutorials.
If you live in a rental or plan to move soon, an easy floor also means you can pull it up without wrecking what’s underneath. Floating floors—like laminate or some kinds of vinyl planks—sit on top of your old floor, so you aren’t damaging anything permanent. This is literally a game-changer for renters and commitment-phobes.
Another plus: mess is way less of an issue. Most simple flooring systems are made for low-dust installs, so you’re not breathing in sawdust or covered in glue. Some peel-and-stick types let you skip wet adhesives altogether. No wrestling with buckets or waiting hours for drying times.
Don’t forget about mistakes. With basic click-together or stick-on floors, if you mess up a piece, you just pop it off and try again. None of that “well, it’s glued forever” dread. Plus, the learning curve is gentle. You can start in a closet (no one ever sees your mistakes in a closet, trust me) and then level up to bigger rooms.
Bottom line: when you make the job as easy as possible, you’re way more likely to finish, love the results, and not want to burn the whole house down halfway through. Stress less, save cash, and get a space you actually want to show off. That’s the whole point, right?
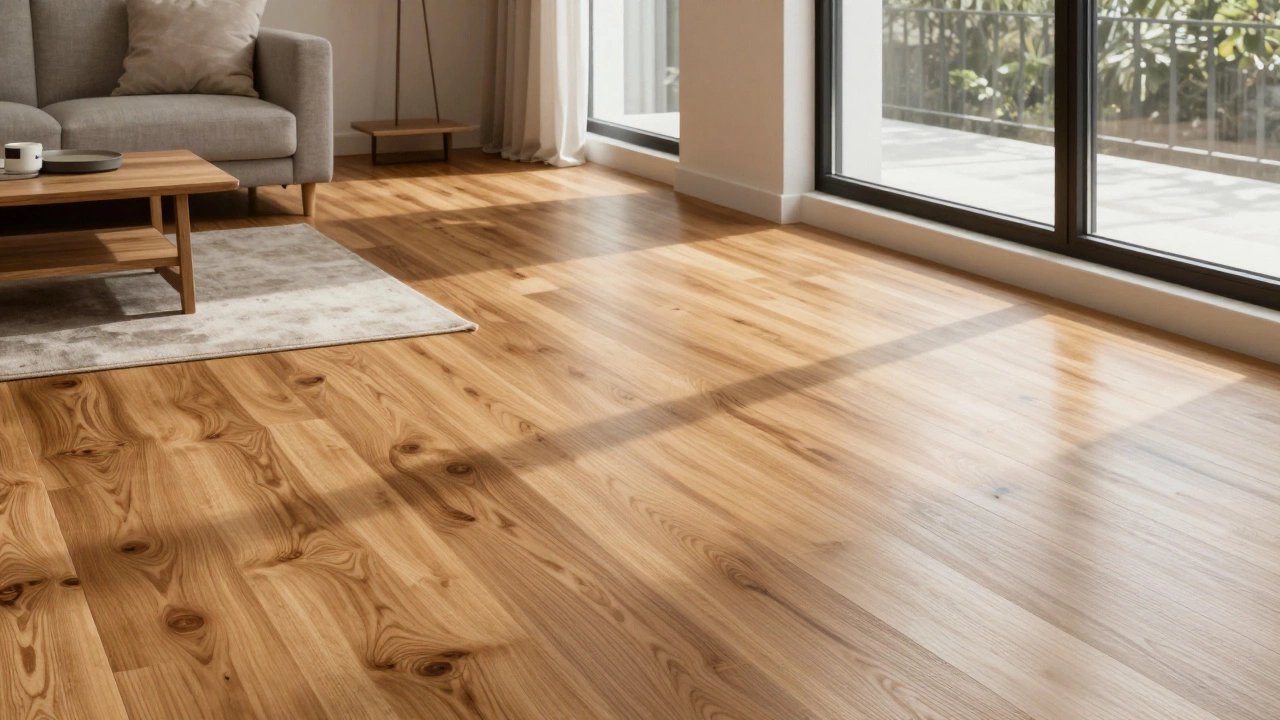
Top Flooring Types for Hassle-Free Installation
If you’ve ever wondered what flooring you can install without losing your mind (or weekend), the answer falls into a handful of clear winners. Let’s look at which are the real MVPs when you want a fast, simple upgrade.
- Peel and Stick Vinyl Tiles/Planks: These are about as close to foolproof as you can get. You peel off the backing, press them down, and you’re done. They’re cheap, come in tons of styles, and work well in kitchens or bathrooms. The only real trick is making sure your subfloor is clean and smooth so they stick well.
- Click-Lock Laminate Flooring: Laminate has been the go-to for decades because it snaps together over most existing floors. There’s no glue or nails. The edges of each plank lock together, forming a “floating” surface. Average installation runs about 400 square feet per day if you’re not slow-poking it. Laminate is sturdy enough to handle pets—and yes, Luna has tested this herself.
- Rigid Core Luxury Vinyl Plank (LVP): This stuff is hotter than ever because it’s waterproof, takes a beating, and installs just like laminate (click-lock sections). Some versions don’t even need you to remove the baseboards. If you want something solid with barely any fuss, this is it.
- Sheet Vinyl Flooring: Big rolls that you cut to size with a utility knife. Most newer versions go down with double-sided tape or loose lay. You’ll want a buddy to help maneuver the roll, but it covers a room in hours, not days.
- Engineered Wood Floating Floors: If you like the wood look, these boards click together like laminate. They cost more, but they give you that premium real-wood vibe with way less hassle than nailing down planks.
To give you a quick comparison, here’s a little cheat sheet:
| Type | Avg. Install Speed* | Tools Needed | Skill Level | Main Benefit |
|---|---|---|---|---|
| Peel & Stick Vinyl | 200+ sq. ft/day | Utility knife, ruler | Beginner | Quick, budget-friendly |
| Click-Lock Laminate | 400+ sq. ft/day | Saw (for cuts), tapping block | Beginner | Durable, easy to swap out |
| Rigid Core LVP | 350+ sq. ft/day | Utility knife or saw | Beginner | Waterproof, tough |
| Sheet Vinyl | 250+ sq. ft/day | Utility knife | Beginner | Covers big spaces fast |
| Engineered Wood | 250 sq. ft/day | Saw, tapping block | Beginner-Intermediate | Real wood look |
*Based on one person, working steadily without pro experience.
Most folks find peel and stick or click-lock options disappear the fear factor. They’re forgiving if you mess up a cut, and you don’t need an arsenal of tools. Skip the tile, real hardwood, or anything that begs for glue if ease is what you’re after. Those can turn your floor project into a month-long saga.
Tips Before You Roll Up Your Sleeves
Before you even think about unboxing those planks or tiles, there are a few things you seriously can’t skip. Prepping right from the start stops headaches down the road—like squeaky floors, gaps, or boards that buckle up and ruin your day.
First up, measure. Sounds obvious, but most people (yep, even me once) misjudge how much material they’ll need. Always order at least 10% extra. That covers busted edges, bad cuts, or if the cat decides to shred a piece or two. Take the time to sketch out your rooms and jot down every notch, closet, or weird bump-out. That lets you cut smarter and waste less.
Next, check your subfloor. It should be clean, dry, and flat. Even the easiest flooring on the planet won’t save you if you’re laying it on a wavy, bumpy surface. Use a long level. Most brands say gaps can’t be bigger than 1/8” over six feet. Anything more? Grab a sander, scraper, or self-leveler before you lay the first board.
Think about doorways. Thicker floors may jam doors, so test before you glue or snap planks together. If you’re laying easiest flooring in kitchens or bathrooms, check it’s labeled waterproof. Otherwise, one bad spill turns into a major mess.
Here’s a quick lowdown of major points you need to nail:
- Let planks or tiles acclimate. Leave them unopened in the room for 48+ hours. This stops swelling and warping later. The official “room temp” zone is 65—80°F, with 35—60% humidity.
- Grab the right tools, but keep it basic: utility knife, tape measure, spacers, and a tapping block usually do the trick for most floating floors.
- Always read the instructions on your specific floor box. Some have weird click-in methods; ignore them and you’ll snap a corner.
- Lay underlayment if needed. Some laminate and vinyl click floors come with it attached, but older types don’t. It controls noise, adds cushion, and blocks moisture.
Check this table for fast stats to keep in mind before starting:
| Step | Why It Matters | How Long It Takes (Average) |
|---|---|---|
| Room Measurement | Prevents under/over-buying; helps plan cuts | 30—60 min |
| Material Acclimation | Prevents warping/expansion issues | 48—72 hours |
| Subfloor Prep | Even surface avoids cracks and squeaks | 1—2 hours for average room |
| Tool Set-up | Having gear ready means no searching mid-project | 15—30 min |
Shortcuts always come back to bite. Nailing these basics means way less stress and a way better chance your floor actually looks like the photos on the box.
Pet Owners and Heavy Traffic: What to Pick
If you've got pets like Luna, or your floors see tons of feet, not every “easy” option can handle the heat. Claws, muddy paws, spills, dragged furniture—you name it, your floor needs to take it. The trick is picking something that looks good and won’t freak out after a rough day.
The easiest flooring to put down that also laughs in the face of chaos? Two options stand out every time: laminate planks with click-lock systems and luxury vinyl planks (LVP). Here’s why:
- Laminate flooring is made with a durable top layer that resists scratches from nails, toys, even the accidental dropped dish. Most are rated AC3 or AC4 for home use—AC4 can even handle commercial traffic.
- Luxury vinyl planks aren’t just waterproof, they can handle puddles from water bowls, wet boots, or the occasional mishap (looking at you, cats and kids). The wear layer on quality LVP is basically armor for your floor—aim for at least 12 mil thickness if your house gets rowdy.
Curious how they stack up against other options? Check out this quick table for the most common easy-to-install types:
| Flooring Type | Scratch Resistance | Water Resistance | Ease of Install |
|---|---|---|---|
| Laminate Plank | High (AC3/AC4) | Moderate | Very Easy |
| Luxury Vinyl Plank (LVP) | High | High (Waterproof) | Very Easy |
| Peel-and-Stick Vinyl Tile | Moderate | High (Waterproof) | Easiest |
| Engineered Wood Click System | Moderate | Low | Easy |
| Carpet Tile | Low | Low | Easiest |
For folks who want zero stress, start with LVP or laminate. They’re way less likely to show scratches or stains. And if someone wrecks a section (thanks, Luna), you can pop out and swap a plank, no need to redo the whole room.
One last tip: go for medium tones or fun patterns. Light colors show muddy tracks and dark colors capture every bit of glare and dust. Something in the middle is your friend. This way, you get a floor that stays looking sharp no matter how many paws or sneakers go charging through.

Tricks to Make It Look Pro-Level
It’s one thing to pick the easiest flooring to put down, but it’s another to make it look like you didn’t rush through it with a pizza box as your kneeling pad. Even simple floors can scream “DIY fail” if you skip a few key steps. The good news? You don’t need a contractor’s tool belt—just a bit of prep and some know-how.
- Start With a Solid, Clean Base: No floor is forgiving if it’s going over a lumpy, dirty surface. Sweep, vacuum, and double-check for old nails or staples. For peel-and-stick options, a spotless and dry subfloor will help everything bond right. Laminate and vinyl planks also lay flatter and snugger when the base isn’t bumpy.
- Measure and Plan Out Your Pattern: Ever walk into a room and notice the last, thin slice of flooring along a wall? That’s a rookie mistake. Dry-lay a row or two before you stick or click—this shows if you’ll end up with a weird, narrow strip at the end. Shift your starting line so you have at least a half-width piece against the final wall for balance.
- Stagger the Joints: For planks and tiles, don’t line up all the seams like a grid. Professional installers offset joints by at least six inches to make the floor stronger and more natural looking. Think of how bricks are stacked—same deal. This little trick hides mistakes and makes patterns flow.
- Use Spacers and Trim Wisely: Floating floors need a gap—usually 1/4 inch—around the room for the boards to expand without buckling. Use spacers until your last row, then cover that gap with baseboard or quarter-round trim. Your floor looks tidy, plus you hide those wobbly edge cuts.
- Invest in the Right Tools: You don’t have to buy pro gear, but a sharp utility knife, straightedge, spacers, and a tapping block (for clicking planks) will save you tons of swearing. A cheap pull bar helps snap in tight edges without gaps.
Wondering how long this actually takes? Here’s a quick rundown for a 200 square foot room (about the size of a big bedroom):
| Floor Type | Install Time (DIY, 200 sq ft) | Cleanup Needed |
|---|---|---|
| Peel & Stick Vinyl | 4-6 hours | Minimal (just sweep) |
| Laminate Plank | 6-8 hours | Some sawdust, vacuum needed |
| Engineered Click-Lock | 7-9 hours | Little mess, wipe down only |
If you have pets like Luna (who thinks every finished floor is a runway), remember to sweep off loose grit right after installing. Nothing kills new flooring vibes like instant scratches from zoomies.
The final touch: Don’t rush moving furniture back. Most floors benefit from a few hours to settle and lock in. Dragging heavy stuff right away can shift seams or ruin a neat first impression. Wait it out, grab a snack, and brag to your friends—it’s worth it!