New Construction Painting: Tips, Trends & What to Expect
Got a brand‑new home or apartment and wondering how to get the walls looking perfect? Painting a fresh build isn’t just about picking a colour – it’s about preparation, the right products and timing. In this guide you’ll find straight‑forward steps that keep the job simple, cheap and durable.
Why Paint Matters in New Builds
Even though the walls are brand new, they still need a barrier between the plaster and everyday life. Fresh plaster contains dust and leftover chemicals that can make paint peel later on. A solid primer seals the surface, stops stains from soaking in, and lets the colour pop. Skipping this step is the most common way a new‑build paint job goes wrong.
Another reason to care about paint early on is resale value. A neutral, well‑applied finish makes the space feel bigger and more inviting, which helps when you decide to sell or rent.
Choosing the Right Finish and Colour
When you’re picking a finish, think about the room’s use. A matte or flat finish hides minor imperfections and works great in bedrooms and living rooms. For kitchens, bathrooms or hallways, a satin or low‑gloss finish wipes clean easily and resists moisture. Don’t grab the most expensive sheen unless you need that extra durability.
Colour choice can set the mood for the whole house. Light neutrals (soft greys, warm whites) reflect more light and make rooms feel larger – perfect for smaller flats. If you love bold hues, use them as accents on one wall or in a hallway to avoid overwhelming the space.
Before you commit, paint a small swatch on the wall and watch it at different times of day. The colour can shift dramatically under natural light versus artificial light.
Now, let’s walk through the practical steps you’ll follow from start to finish.
1. Let the plaster cure. New plaster needs at least two weeks to dry out. Check the manufacturer’s advice; rushing the paint can trap moisture and cause bubbling.
2. Clean the surface. Use a soft brush or vacuum to remove dust. Wipe down with a damp cloth and let it dry fully.
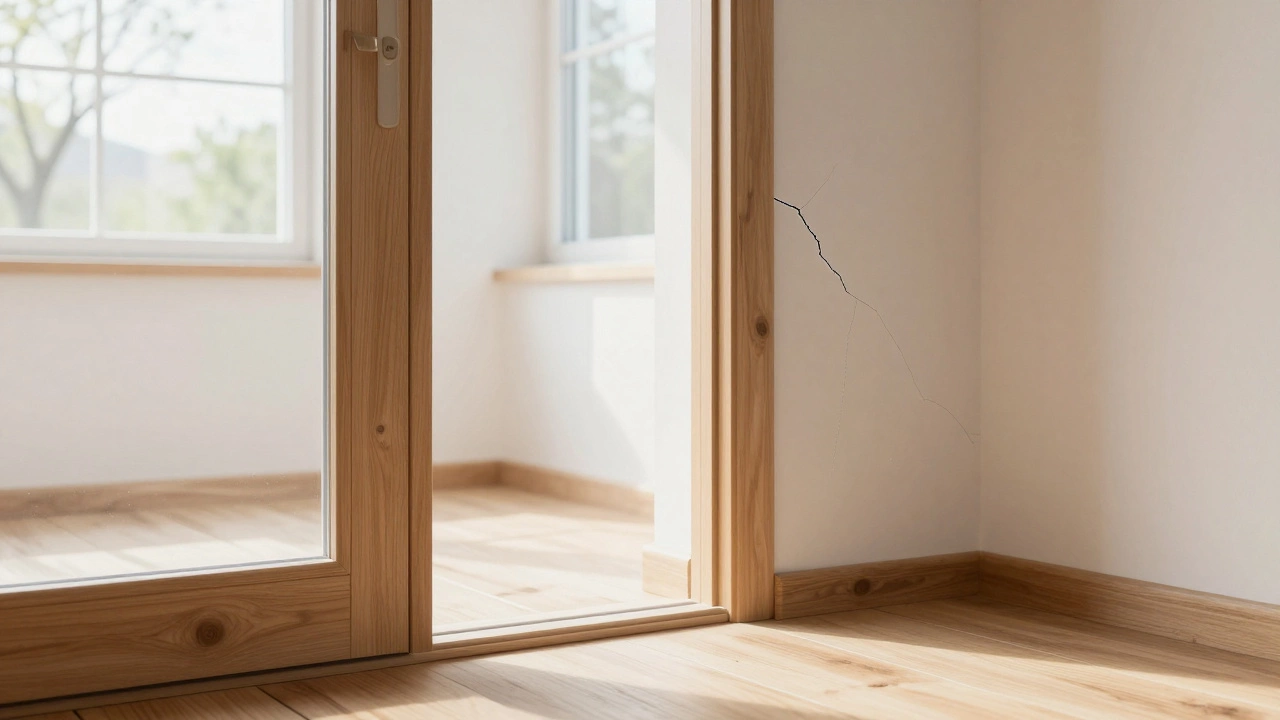
3. Repair any dents. Small nail holes or cracks are easy to fill with a ready‑mix filler. Sand smooth once dry.
4. Apply primer. Choose a high‑quality primer that matches your topcoat (oil‑based primer for oil‑based paint, water‑based for latex). One coat is usually enough on new plaster.
5. Paint the topcoat. Use a good roller for large areas and a brush for edges. Two thin coats give better coverage than one thick coat and reduce drips.
6. Let each coat dry. Follow the paint can’s drying time – usually 2‑4 hours for latex. Keep the room ventilated but avoid strong drafts that can dust the wet paint.
7. Clean up. Wash brushes with the right solvent (water for latex, mineral spirits for oil). Store any leftover paint for future touch‑ups.
Pro tip: If you’re hiring a contractor, ask for a written schedule that includes drying times. Rushing the job can lead to cracks later.
Finally, remember that paint is an ongoing maintenance task. Touch‑up kits with the exact colour can keep walls looking fresh for years.
By following these steps you’ll end up with walls that look great right away and stay strong for the life of the building. Happy painting!


