DIY Foundation Repair: Quick Fixes for Cracks and Shifts
If you’ve spotted cracks in your walls or noticed a floor that’s not level, you’re probably wondering whether you need a pricey contractor or if you can handle it yourself. The good news is many foundation issues can be tackled with basic tools, a little elbow grease, and the right approach. Below are the most practical steps you can take right now to stop damage from spreading.
Spot the Real Problems
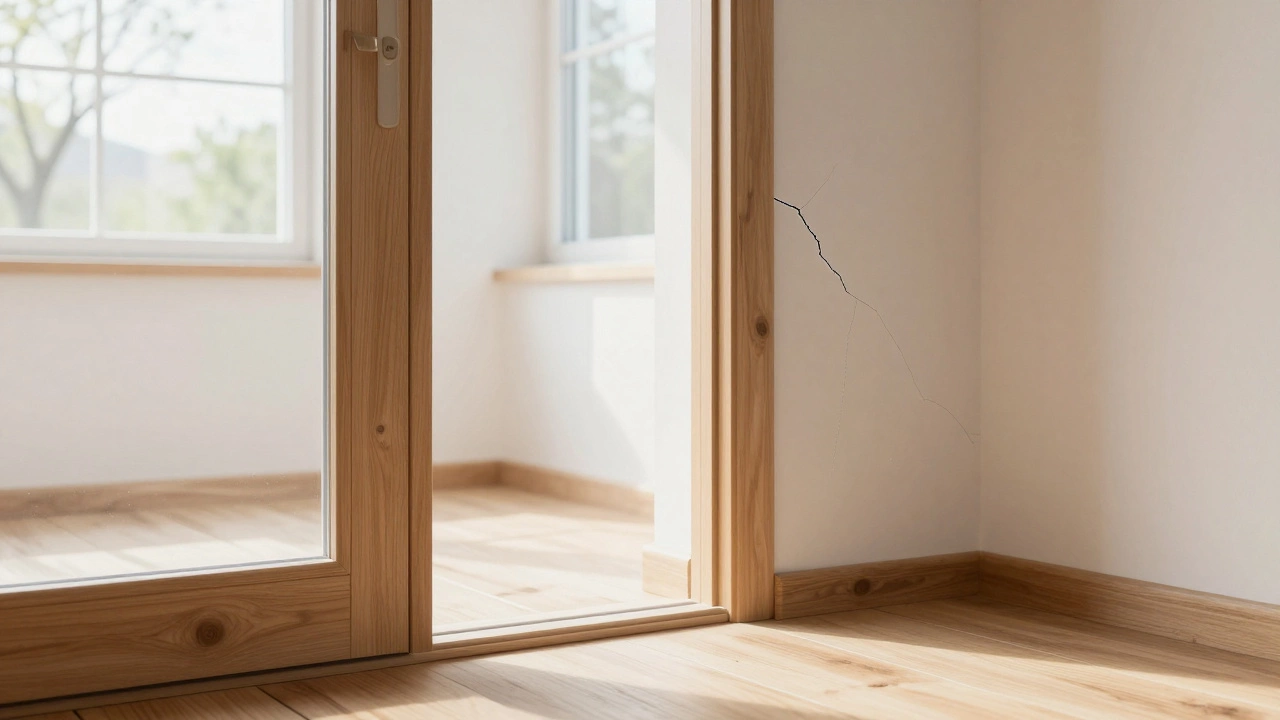
First, separate harmless settlement cracks from structural warnings. Horizontal cracks wider than a quarter‑inch, cracks that keep growing, or doors that jam are red flags. Small vertical hairline cracks that stay the same size are usually cosmetic. Grab a tape measure, mark the crack’s length and width, and take a photo. Tracking changes over a few weeks tells you if the issue is active.
Next, check for moisture. Damp soil around the foundation can cause swelling, pushing walls outward. Look for water stains on the basement wall, moldy smells, or pooling water after rain. If you see any of these, the repair plan must include drainage before you seal anything.
Step‑by‑Step DIY Fixes
1. Clean the crack. Use a wire brush and a shop‑vac to remove loose concrete, dust, and debris. A clean surface lets the filler bond properly.
2. Choose the right filler. For small vertical cracks (up to ½ in.), use a polyurethane injection kit. It expands with the wall’s movement, keeping the seal flexible. For larger gaps, a hydraulic cement works best because it sets hard and stops water flow.
3. Apply the filler. Follow the kit instructions: insert the injection tip into the crack, press the cartridge, and let the material fill the space. Over‑fill slightly; you can scrape excess later. For hydraulic cement, mix a pea‑sized batch and push it in with a trowel, then smooth the surface.
4. Reinforce if needed. If the crack is wider than ½ in. or you’re dealing with a bowing wall, add a wall anchor or steel brace. Drill holes at the recommended spacing, insert the anchors, and tighten. This adds mechanical strength while the filler cures.
5. Seal the exterior. Once the interior repair cures (usually 24‑48 hours), tackle the outside. Clean the soil, install a perimeter drainage pipe (French drain) if water pools, and cover the foundation with a waterproof membrane or sealant. A simple roll‑out bitumen sheet works for most homes.
All these steps can be completed in a weekend if you have the tools ready. The biggest cost saver is doing the prep work yourself—digging, cleaning, and applying filler are straightforward once you know the process.
Remember, DIY repairs are great for early‑stage cracks and moisture control. If you notice continuous movement, large gaps, or doors that still stick after you’ve sealed the cracks, it’s time to call a professional. Ignoring a serious issue can lead to expensive foundation replacement later.
Bottom line: start by measuring, clean, fill, reinforce, and waterproof. With these five moves you’ll protect your home, keep the structure stable, and avoid a big contractor bill.


