Wall Anchor Selector Tool
Select your wall type and the weight of the item you want to hang to get a recommendation.
Anchor Type
DifficultyYou just moved into your brand-new house. The paint is fresh, the carpets smell like possibility, and you have a stack of framed photos, mirrors, and shelves waiting to go up. But then doubt creeps in. Your builder gave you a vague warning about "settling," or maybe a friend told you that new walls are fragile. So, can you drill into new build walls? The short answer is yes, absolutely. But the long answer involves understanding what those walls are actually made of and why timing matters more than most people realize.
The Reality Check: What Are You Actually Drilling Into?
Before you grab your power tool, you need to know your enemy-or rather, your canvas. In Australia, and specifically here in Melbourne where we see a lot of brick veneer and lightweight construction, "new build walls" usually means one of two things: plasterboard (drywall) over timber or steel studs, or solid masonry behind a thin render layer. Most interior partitions in modern homes are plasterboard. This material is soft, hollow, and unforgiving if you use the wrong technique.
If your home has solid brick or concrete block internal walls, you’re in luck regarding stability, but you’ll need different tools. Hammer drills and masonry bits become your best friends. But let’s be honest: 90% of you reading this have plasterboard walls. That’s where the real challenge lies.
Why Timing Matters More Than Technique
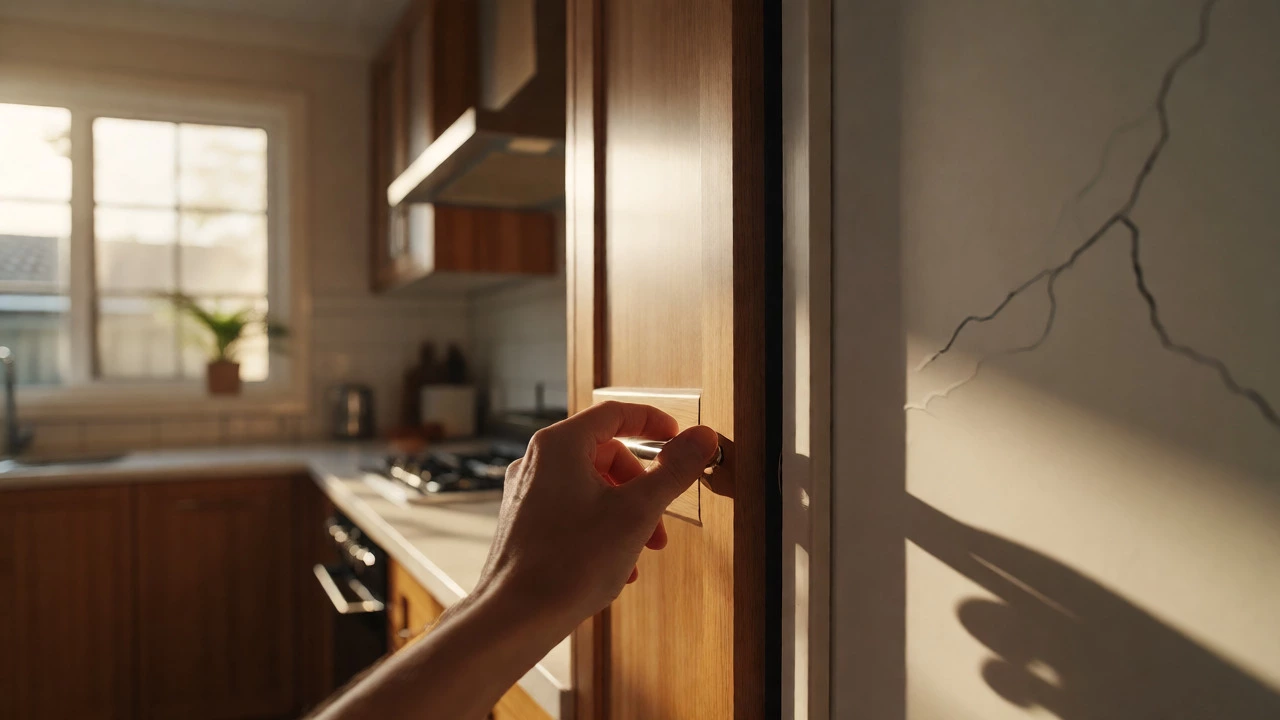
Here is the controversial part: some builders recommend waiting six months before putting heavy loads on new walls. Why? Because houses move. Concrete slabs shrink as they cure, timber frames adjust to humidity changes, and soil shifts under the foundation. This process, called "settlement," can cause hairline cracks in plaster joints. If you hang a heavy mirror on a wall that hasn’t settled yet, you might end up with a crooked frame or a cracked board within weeks.
Does this mean you can’t drill at all? No. It means you should avoid putting extreme weight on the walls during the first few months. Light items-photos, small clocks, light shelving-are perfectly fine immediately. Save the giant TV mount or the full bookcase for after the first wet season passes. In Melbourne, that’s usually around March or April, once the ground has had time to stabilize after summer heat and winter rain cycles.
Choosing the Right Anchor for the Job
Using the wrong anchor is the number one reason people rip holes in their new walls. You wouldn’t use a screwdriver to hammer a nail, right? Same logic applies here. The type of anchor depends entirely on the weight of the object and the depth of the cavity behind the wall.
| Anchor Type | Best For | Weight Limit (Approx) | Difficulty |
|---|---|---|---|
| Plastic Expansion Plug | Light frames, hooks, curtain rails | Up to 5kg | Easy |
| Toggle Bolt (Molly) | Shelves, medium mirrors, TVs | 10-20kg | Medium |
| Self-Drill Metal Anchor | Heavy cabinets, large screens | 20-40kg+ | Hard |
| Stud Screw | Anything heavy, permanent fixtures | 50kg+ | Easy (if stud found) |
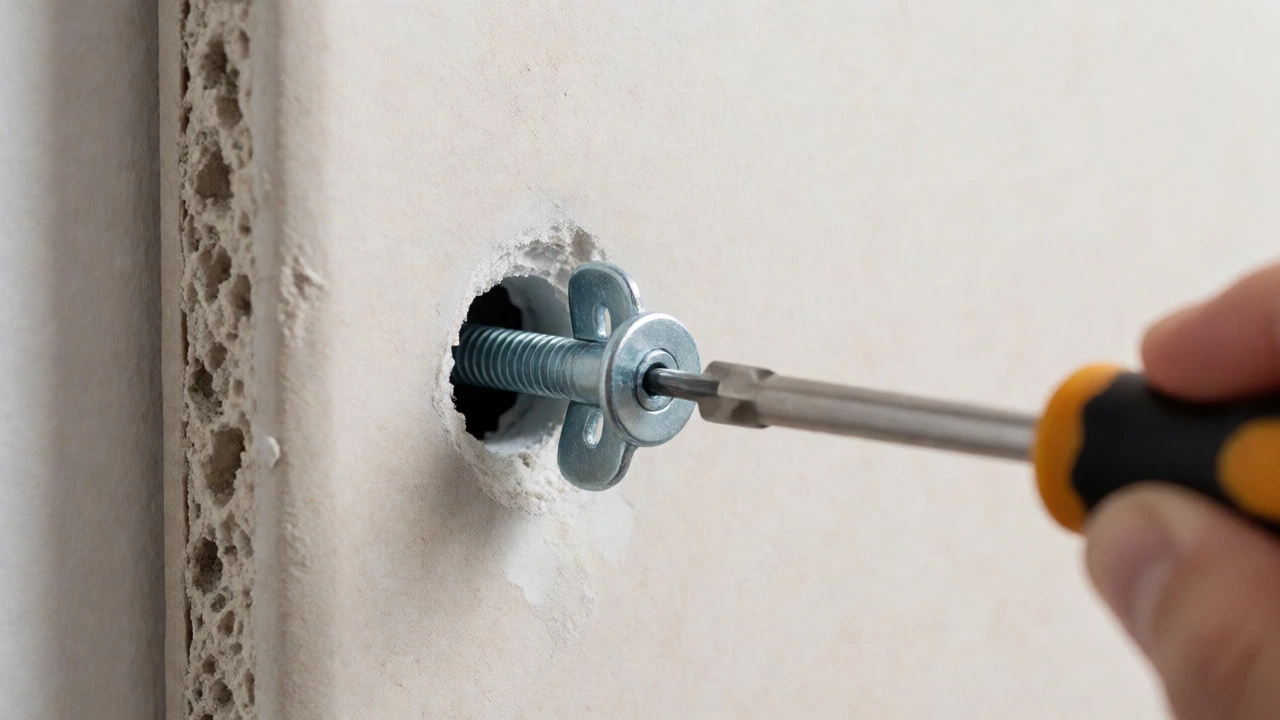
Notice the huge jump in capacity when you hit a stud? That’s the gold standard. Always try to find a stud first. If you can’t, and you must rely on the plasterboard alone, never trust a simple plastic plug for anything heavier than a picture frame. Toggle bolts spread the load across the back of the board, preventing it from tearing through the front.
How to Find Studs Without Breaking the Bank
Studs are the vertical timber or metal beams hidden behind the plasterboard. They are usually spaced 450mm or 600mm apart. Finding them is easier than you think. You don’t necessarily need an expensive electronic stud finder, though they are handy. Here are three low-tech methods that work surprisingly well:
- The Knock Test: Tap the wall with your knuckles. Hollow sounds mean empty space. Solid thuds indicate a stud. Move along the wall until you hear the sound change.
- Nail Popping: Look for tiny dimples or nail heads near skirting boards or cornices. These often mark where the plasterboard was nailed to the stud.
- Outlet Boxes: Electrical sockets are almost always mounted on a stud. Measure 30-40mm horizontally from the edge of the socket box, and you’re likely right next to a stud.
Once you’ve located a stud, confirm it by pushing a small pin into the wall. If it goes in easily and then meets resistance, you’ve hit wood or metal. If it slides in endlessly, you’re in the cavity. Use a strong magnet; sometimes the screws holding the plasterboard to the stud will attract it, giving you a precise location.
Step-by-Step: Drilling Like a Pro
Ready to make the hole? Follow this sequence to minimize damage. Skipping steps is how you end up with crumbled edges that look terrible even after painting.
- Mark Your Spot: Use a pencil and a level. Don’t eyeball it. Double-check that your mark isn’t over a pipe or wire. If you’re unsure, use a cable detector. In new builds, plumbing is often in external walls, but check your plans if you have them.
- Tape the Area: Stick a piece of masking tape over your drill point. This prevents the drill bit from wandering on the smooth paper surface and reduces splintering when you break through.
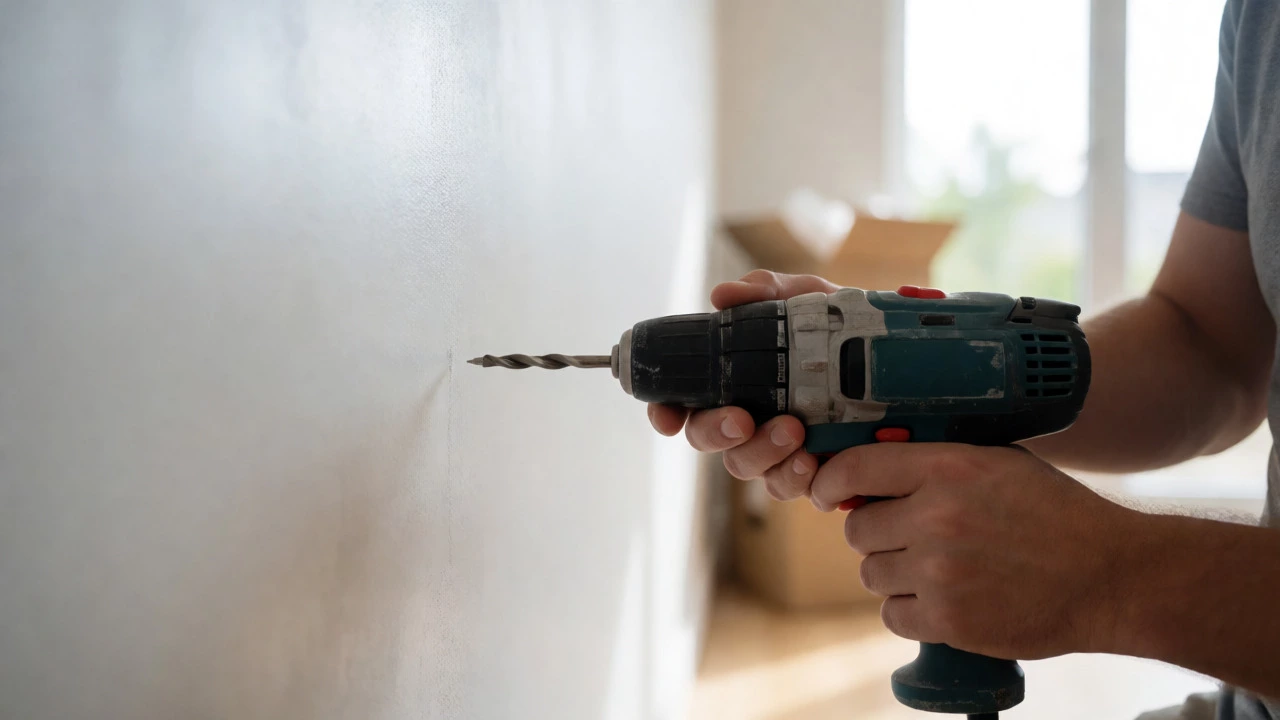
- Start Slow: Begin drilling at a low speed. Let the sharp tip of the bit bite into the plaster. Once you’re through the front face, you can increase speed slightly.
- Stop at Depth: Wrap a piece of tape around your drill bit at the desired depth (usually the length of your anchor). When the tape hits the wall, stop. Over-drilling creates unnecessary mess and weakens the hold.
- Insert Anchor: Push your chosen anchor into the hole. For toggle bolts, you’ll need to compress the wings before insertion. Ensure it sits flush with the wall surface.
- Screw In: Drive the screw into the anchor. Do not overtighten! This is crucial. Overtightening crushes the plasterboard, causing the anchor to spin freely. Stop as soon as it feels snug.
What If You Make a Mistake?
Don’t panic. Cracking plasterboard is common, even for pros. If you drill a hole too big or crack the surrounding area, you can fix it easily. Buy a tube of ready-mixed filler or a patch kit. For small cracks, squeeze filler into the gap, scrape it flat with a putty knife, and let it dry. Sand lightly, prime, and paint. Since the wall is new, matching the paint color is easy-you likely still have the original tin. If the damage is severe, cut out a square section, insert a wooden backing, screw in a new piece of plasterboard, and tape-and-joint it. It takes twenty minutes and looks invisible.
Special Considerations for Melbourne Homes
If you live in a townhouse or apartment complex, you might share walls with neighbors. Be mindful of noise regulations. Drilling into shared party walls can be annoying for others, so stick to allowed hours. Also, check your strata bylaws. Some complexes restrict altering external facades, which might limit what you can hang on external-facing walls without approval. Inside, however, you’re generally free to decorate as you please.
Another local factor is humidity. Melbourne’s damp winters can affect how adhesives and fillers cure. Allow extra drying time for any repairs you make. Rushing the drying process leads to bubbles and poor adhesion, which defeats the purpose of fixing the mistake in the first place.
Do I need permission to drill holes in my new home?
Generally, no. Once you own the property, you can decorate it as you wish. However, if you are renting, you must get written consent from the landlord. If you live in a strata-titled unit, check your bylaws regarding external modifications, though internal drilling is rarely restricted.
How long should I wait to hang heavy items on new walls?
While you can drill immediately, it’s wise to wait 3-6 months for very heavy items like large wardrobes or extensive shelving units. This allows the building structure to settle and reduces the risk of cracking due to movement.
Can I drill into tiled walls in a new bathroom?
Yes, but use caution. Tiles are brittle. Start with a low speed and use a diamond-tipped or carbide masonry bit. Never use a hammer setting on ceramic tiles unless necessary, as it can shatter them. Always ensure there is a waterproof membrane behind the tile if you plan to penetrate deeply.
What happens if I hit a water pipe while drilling?
If you hit a pipe, water will leak. Turn off the main water supply immediately. If the pipe is copper or PEX, you may need a plumber to repair it. To prevent this, always use a cable/pipe detector before drilling, especially in kitchens and bathrooms where plumbing runs vertically behind walls.
Are self-drilling anchors better than traditional plugs?
For heavy loads, yes. Self-drilling metal anchors (like Rawlplug Snaptoggles) provide superior grip in hollow walls compared to plastic expansion plugs. They require a larger pilot hole but offer much higher weight capacities and less risk of pulling out over time.