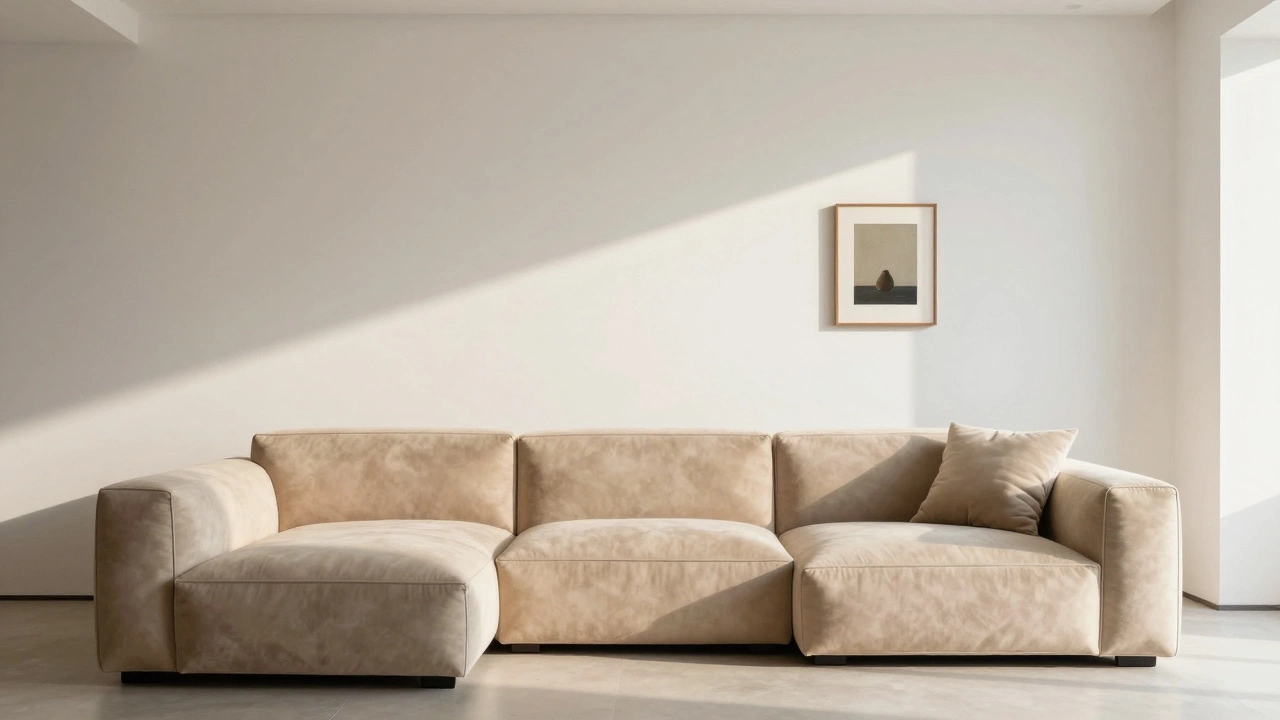
Got a living room that feels more like a puzzle than a place to relax? You’re not alone. Odd angles, low ceilings, or a hallway that squeezes in can make deciding where to put the TV feel overwhelming. The good news? With a few practical steps you can turn that awkward space into a comfortable viewing zone without compromising style.
Assess the Room’s Geometry First
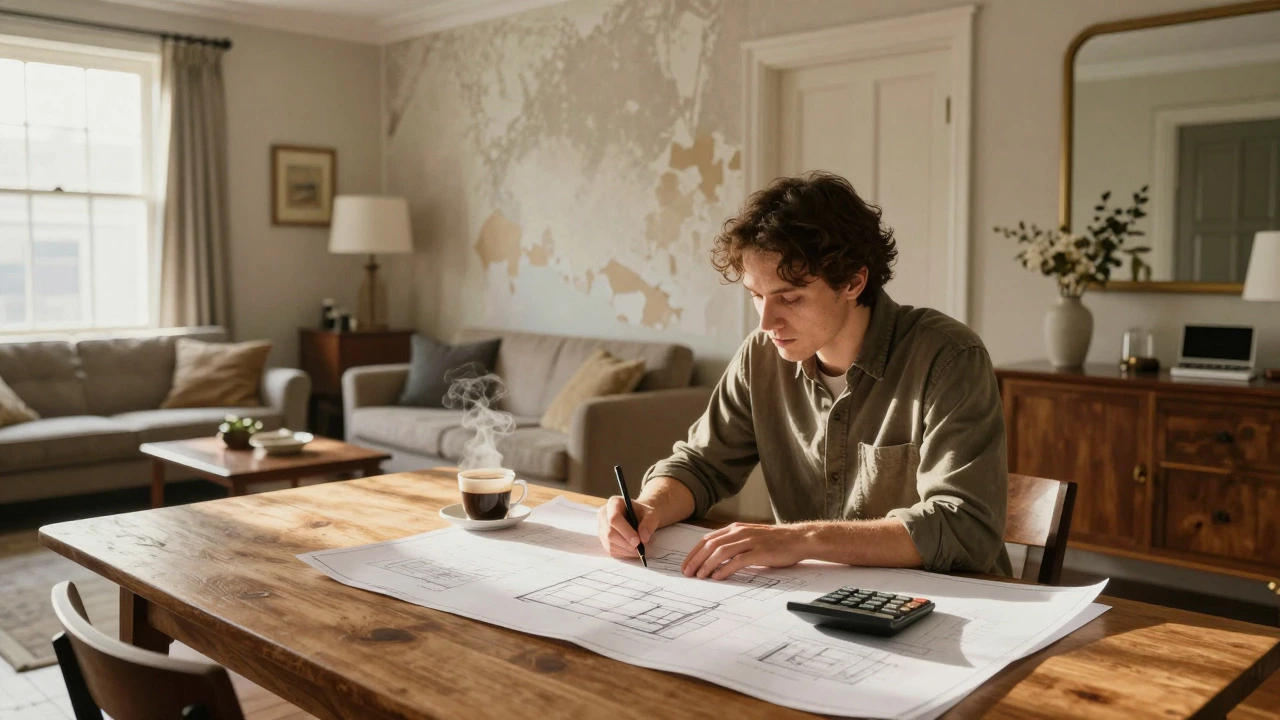
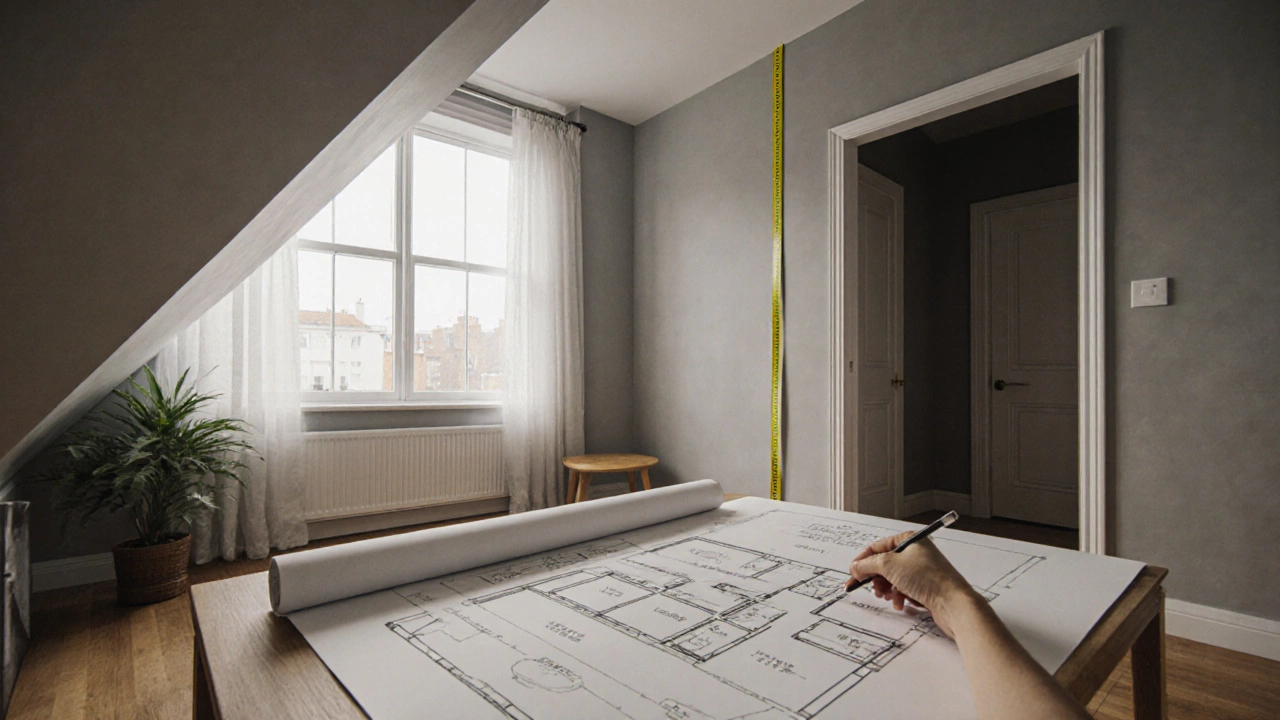
Before you pick a spot, take a step back and map the room’s shape. Sketch the walls on a piece of paper or use a free phone app to draw a floor plan. Note any sloping ceilings, built‑in shelves, or large windows that dominate one side. These features dictate where a screen will be seen clearly and where it will clash with traffic flow.
When you label the walls, give the central entity its first definition:
TV placement the process of deciding the optimal location for a television within a living space, balancing viewing comfort, aesthetics, and functionality works best when you understand the room’s constraints.
Find the Sweet Spot for Viewing
The most comfortable viewing height is roughly eye level when you’re seated. For most sofas, that means the screen’s center sits about 42‑48 inches from the floor. Measure the height of your couch cushions, then mark that line on the wall or stand. If the mark lands too high because of a tall ceiling, a low‑profile TV stand can bring the screen down.
Next, consider the viewing distance. A general rule: multiply the TV’s diagonal size by 1.5‑2.5. So a 55‑inch screen should be 7‑11.5 feet away. Use a tape measure to see if that distance fits any of the walls without forcing people to sit on a coffee table.
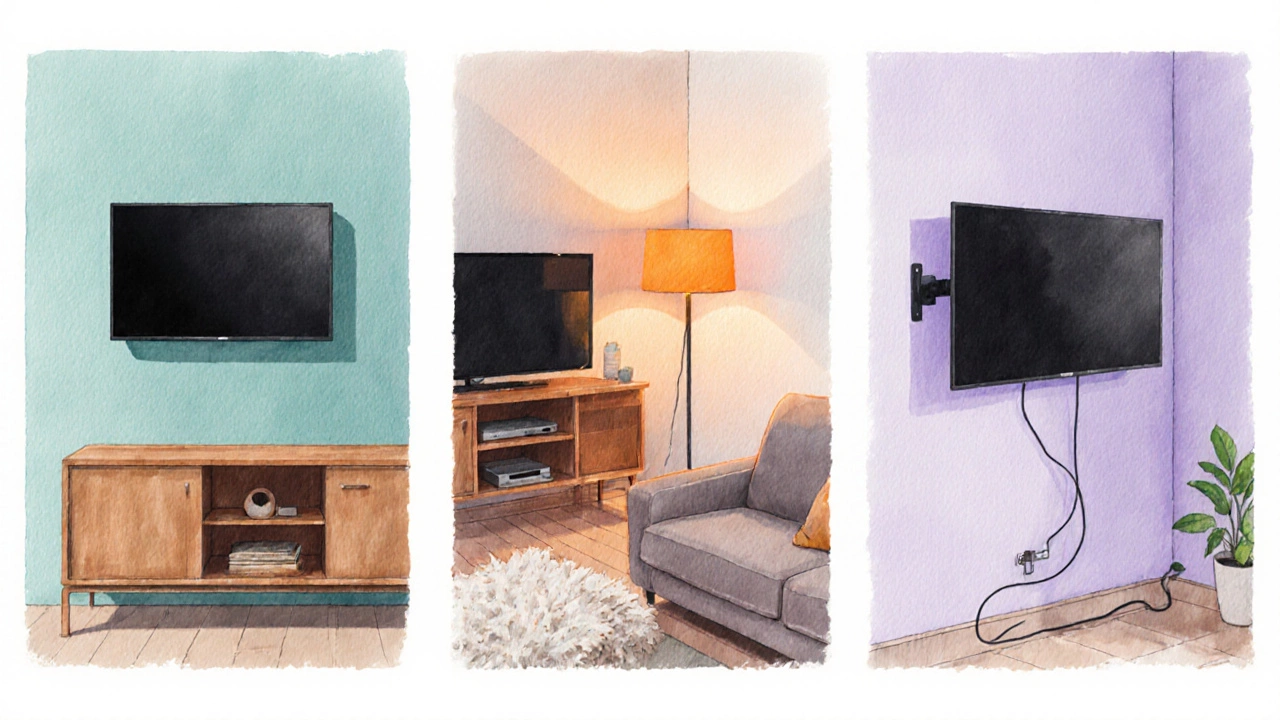
Wall‑Mount vs TV Stand vs Corner Solutions
Now that you know the ideal height and distance, compare the three main options. Below is a quick side‑by‑side look.
| Option | Cost | Flexibility | Aesthetic impact | Installation difficulty |
|---|---|---|---|---|
| Wall‑mount | Low‑to‑moderate ($50‑$200) | Fixed or tilting, some swivel models | Clean, modern look | Medium - needs stud finder and drilling |
| TV stand | Varies ($100‑$800) | High - can move easily | Can blend with furniture | Easy - just place |
| Corner mount | Moderate ($80‑$250) | Fixed angle, limited tilt | Utilises unused corner space | Medium - needs studs on two walls |
Each option has trade‑offs. Wall‑mounts give a sleek vibe and free up floor space, but they’re permanent. Stands let you swap rooms later, yet they take up valuable floor area. Corner mounts are a clever hack for narrow rooms, but the viewing angle can feel off if the couch isn’t centered.
Make the Most of Furniture and Traffic Flow
When the room feels cramped, think about rearranging furniture before committing to a TV spot. Keep the main seating at least a foot away from the TV to avoid neck strain and to give a clear path for walking. If a hallway cuts through the room, place the TV opposite the hallway so foot traffic doesn’t block the screen.
Introduce a TV stand a piece of furniture designed to hold a television, often with storage for media devices that matches the existing décor. A low‑profile console works well in rooms with low ceilings, while a taller media cabinet can hide cable boxes and game consoles.
Cable Management and a Clean Look
Messy cords ruin even the best TV placement. Use cable management systems and accessories that hide, bundle, or route electrical and video cables solutions like raceways, cord covers, or in‑wall kits. If you go wall‑mount, a simple vertical channel from the mount down to a power outlet keeps everything tidy.
For stands, choose models with built‑in cable gates. Run the power strip behind the stand and hide HDMI and speaker cables inside the shelf. The result looks neat and reduces the risk of tripping.
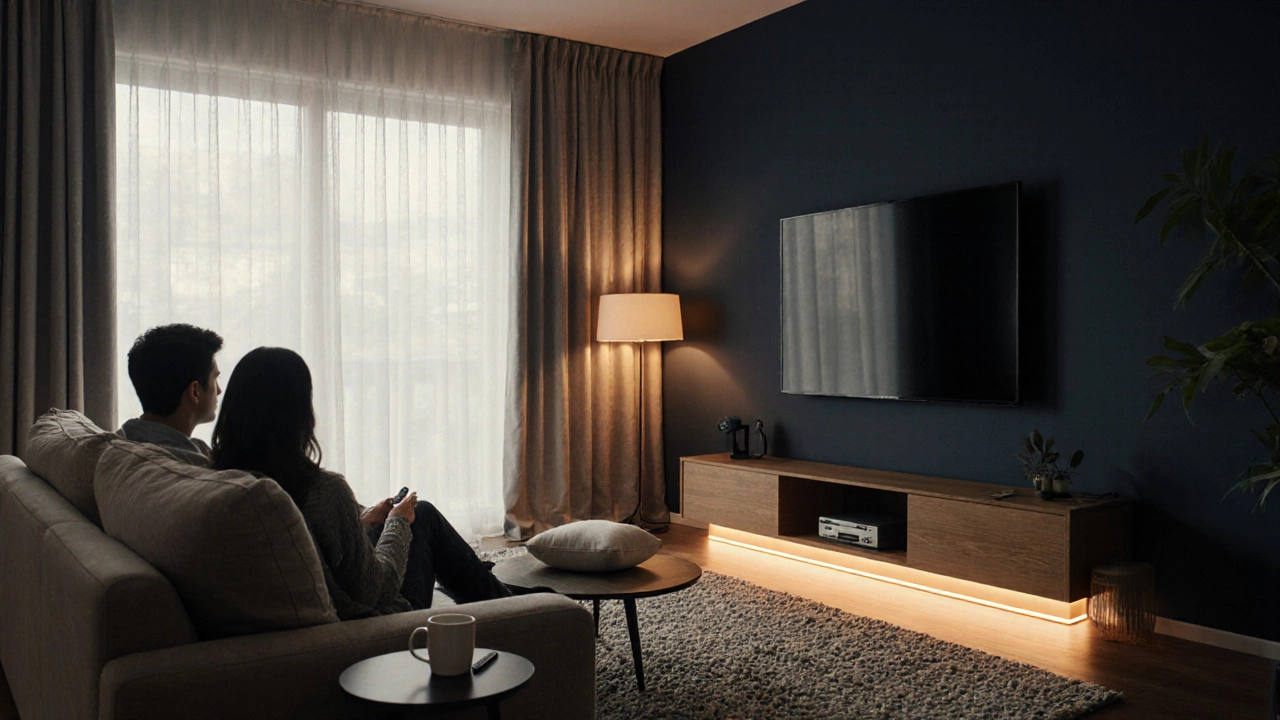
Lighting, Glare, and Acoustic Considerations
Glare can make an otherwise perfect spot unusable. Position the TV away from direct sunlight or bright windows. If that’s impossible, install blackout curtains or angled blinds. An anti‑glare screen a protective film applied to a TV that reduces reflections can also help.
Sound matters too. In a room with hard floors, the TV’s speakers may bounce sound around, creating echo. Add a rug, plush cushions, or acoustic panels to absorb excess noise. This improves dialogue clarity without needing a full‑blown home theatre.
Final Checklist Before You Commit
- Measure eye‑level height and mark it on the wall.
- Confirm viewing distance matches TV size.
- Choose between wall‑mount, stand, or corner mount based on cost, flexibility, and aesthetics.
- Plan furniture layout to keep traffic flow clear.
- Implement cable management to hide wires.
- Control glare with curtains or anti‑glare films.
- Add soft furnishings to improve acoustics.
Following these steps turns an awkward living room into a comfortable media hub. TV placement isn’t just about where the screen sits-it’s about how the whole room works together for you and your family.
Frequently Asked Questions
Can I mount a TV on a plasterboard wall?
Yes, but you’ll need to locate the studs behind the plasterboard and anchor the mount into them. If studs aren’t where you want, use a toggle bolt or a heavy‑duty plasterboard anchor, though it’s less secure than stud mounting.
What TV size is best for a narrow living room?
A 45‑55 inch screen typically works well. Use the 1.5‑2.5× diagonal rule for viewing distance; if the room only allows 6‑8 feet of separation, stay on the lower end of that range.
How do I hide cables when using a corner mount?
Run a short vertical raceway from the mount down the corner, then angle the cable horizontally to the nearest outlet. Paint the raceway to match the wall, or use a decorative cord cover that blends with the décor.
Should I buy a swivel wall mount for a small room?
A swivel mount adds flexibility, allowing you to angle the screen toward different seating spots. In a small room, it can prevent glare and improve ergonomics, making it a worthwhile upgrade if the budget allows.
What lighting is best to reduce TV glare?
Soft, indirect lighting works best. Use floor lamps or wall sconces placed to the side, and avoid ceiling lights that shine directly on the screen. Dimmer switches let you adjust brightness for movies versus daytime viewing.