Outside Fix: Real‑World Tips for Tackling Exterior Repairs
When something goes wrong on the outside of your house, it’s easy to feel stuck. Should you call a pro right away, or can you fix it yourself? This guide walks you through the most common outside issues, shows you how to decide the best approach, and gives you clear steps you can follow today.
When an Outside Fix Beats an Inside Fix
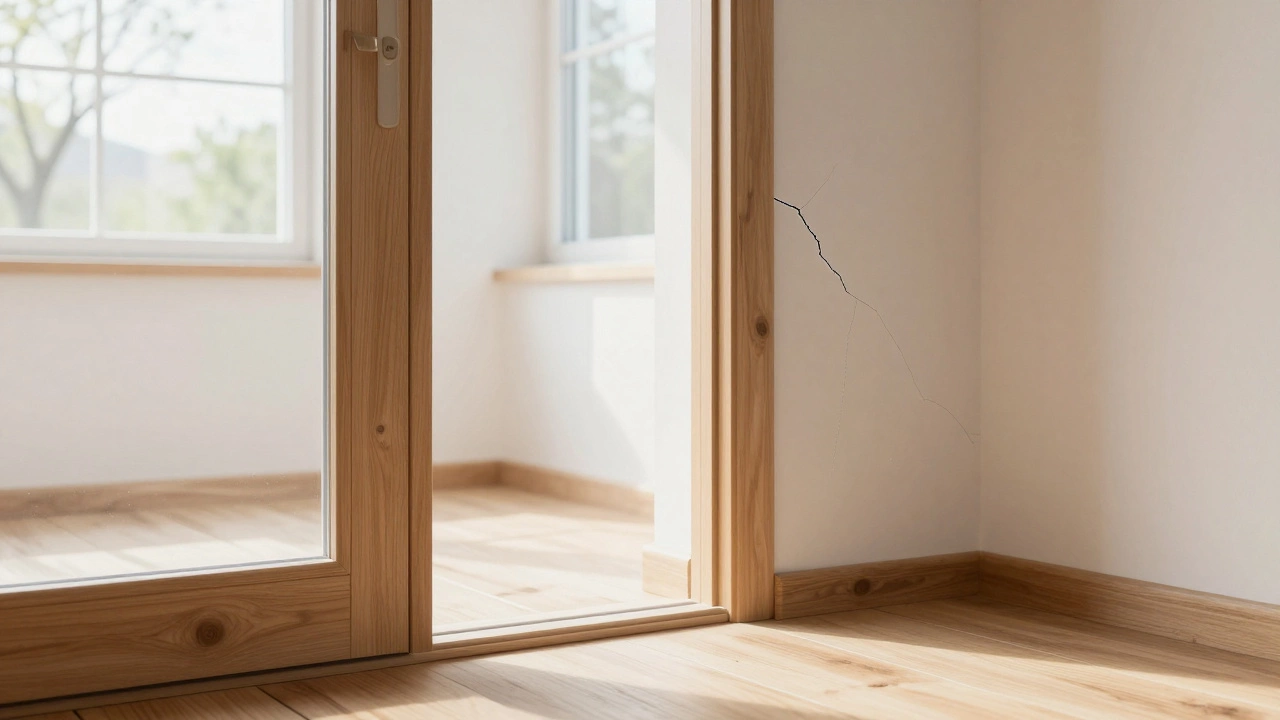
Many homeowners wonder whether to repair a foundation crack, a leaking wall, or a rotting deck from the inside or the outside. In most cases, treating the problem at its source—meaning the exterior—prevents water, soil, and temperature changes from getting back in. For example, if a basement wall cracks, sealing it from the inside may stop immediate seepage, but water will still push against the outside face and eventually find another way in. A simple exterior waterproofing membrane or proper drainage can stop the cycle before it starts.
Another classic case is a sagging porch. Pulling the boards up and adding support from underneath might look quick, but the real issue is often an uneven footings layout. By checking the footing level from the outside and adding pads or adjusting soil compaction, you fix the root cause and avoid future sagging.
Step‑by‑Step Outside Fixes You Can Do Today
1. Inspect and Clean. Grab a flashlight and walk around the affected area. Look for cracks, moss, standing water, or loose material. Clear away debris, leaves, and old caulk so you can see the problem clearly.
2. Identify the Cause. Is water pooling because of poor grading? Is a crack widening after a heavy rain? Knowing the cause tells you whether you need a simple seal or a bigger drainage solution.
3. Choose the Right Material. For small cracks in brick or concrete, a high‑quality epoxy filler works well. For larger gaps, use hydraulic cement that expands as it cures. If you’re sealing a deck, a marine‑grade sealant resists sun and moisture.
4. Apply Properly. Follow the product instructions—usually that means moistening the area, applying the filler with a trowel, and smoothing it out. Press the material deep into the crack so it bonds with the surrounding surface.
5. Finish with Protection. After the filler cures (often 24‑48 hours), add a protective coating: a water‑repellent paint for walls, a UV‑stable sealant for decks, or a drainage mat for footings. This extra layer keeps rainwater from sneaking back in.
These steps work for most exterior fixes, from fixing a cracked garage wall to repairing a leaking gutter. If you hit a roadblock—like a crack larger than a few inches, or structural movement—you’ll need a professional to assess the framing or foundation.
Remember, the goal of an outside fix is to stop the problem at its entry point. By tackling the issue from the exterior, you protect your home’s interior, save on future repairs, and often keep costs lower than a full‑inside overhaul.
Got a specific outdoor problem you’re not sure how to handle? Use the steps above as a checklist, and don’t hesitate to ask a trusted builder for advice when the job feels beyond DIY. With the right approach, most outside issues can be managed quickly, safely, and affordably.


