Inside Fix – Your Go‑to Guide for Everyday Home Repairs
Got a leaky pipe, a cracked wall, or a squeaky floor? You don’t need a pro for every little problem. Below you’ll find straight‑forward advice that lets you sort most inside fixes yourself, save money, and keep your home looking solid.
Common Inside Issues and Quick Fixes
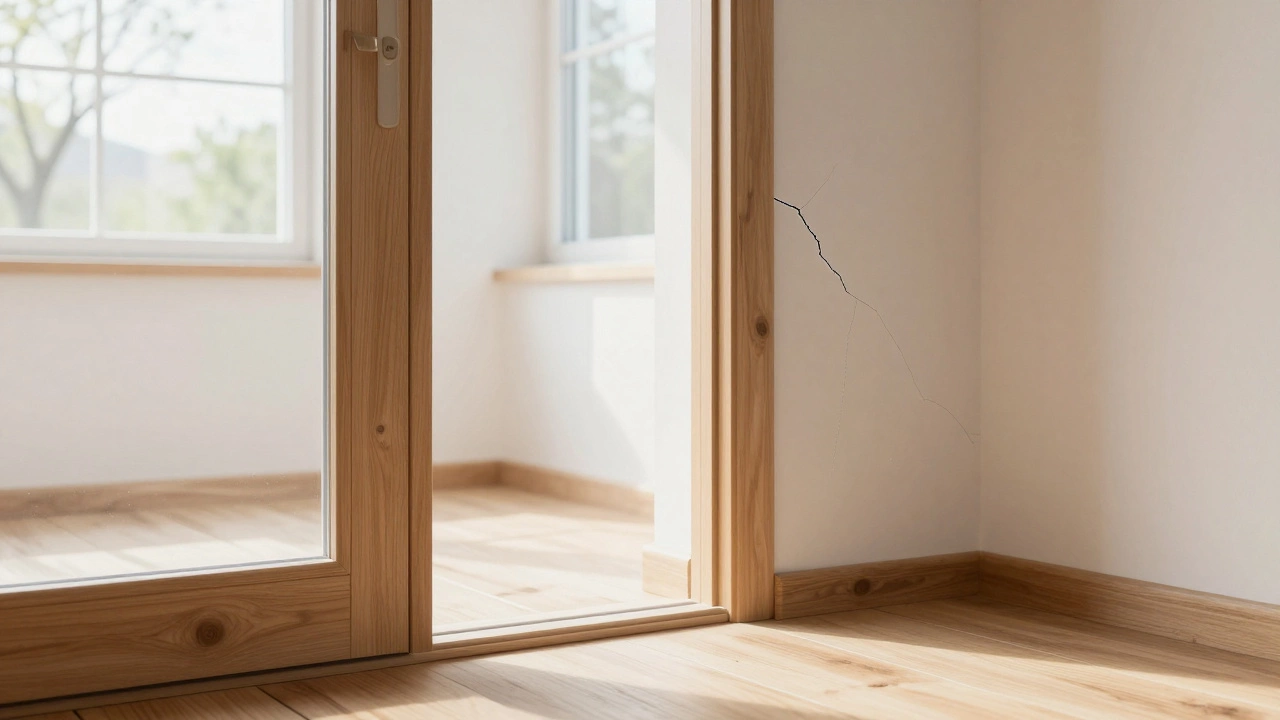
One of the most frequent complaints we hear is small cracks appearing on interior walls. First, grab a utility knife, a bit of spackle, and a sanding block. Clean the crack, apply spackle in thin layers, let it dry, then sand smooth. A quick coat of matching paint makes it disappear. The same technique works for ceiling spots caused by water stains – just make sure the source is dry before you patch.
Flooring problems are another everyday headache. If you notice a loose laminate tile, you can usually re‑adhere it with a simple wood glue or a peel‑and‑stick underlay. For high‑traffic areas, consider a quick‑dry epoxy filler for small gaps – it hardens fast and can be sanded to match the surrounding surface. When the whole room needs a refresh, the easiest option is click‑lock laminate or snap‑together vinyl; you can lay it over most existing floors without pulling up the old material.
Stuck windows or drafty blinds? Often the issue is just worn hardware. A screwdriver and a set of replacement brackets will tighten loose mechanisms. For blinds that won’t stay up, replace the cord with a fresh pull‑cord kit – it takes five minutes and makes a huge difference in daily use.
Tools and Techniques Every DIYer Needs
Before you start any inside fix, stock a basic toolbox: a cordless drill, a set of screwdrivers, a utility knife, a tape measure, and a level. These tools cover 80% of home repair tasks. Keep a few consumables on hand – spackle, wood filler, silicone sealant, and paint primer – so you’re not scrambling to the shop mid‑project.
Safety first: wear safety glasses when cutting or sanding, and keep a dust mask handy for any plaster work. A small tab of duct tape over your fingers can protect against accidental cuts when using a utility knife.
When you’re unsure whether a problem is cosmetic or structural, do a quick check. For wall cracks, tap the area – a hollow sound may mean a deeper issue that needs a professional. For flooring, walk across the repaired spot; if it creaks after an hour, you likely need a stronger adhesive or a more thorough sub‑floor inspection.
Remember, most inside fixes are about prevention as much as repair. Seal bathroom tiles and kitchen backsplashes with silicone right after installation to stop moisture from seeping into walls. Install a splash guard under sinks to protect cabinets from splashes. A little extra effort now saves you bigger headaches later.
In short, you can handle the majority of inside repairs with a few tools, a bit of patience, and the right know‑how. Use the tips above as a starter pack, and you’ll feel confident tackling anything from cracked plaster to squeaky floors without calling in an expert every time.


