Hybrid Flooring: What It Is and Why It Works
If you’ve been browsing floor options, you’ve probably seen the term “hybrid flooring” pop up. In plain English, hybrid flooring is a mix of laminate and vinyl that gives you the look of wood or stone without the high cost or maintenance headaches. It’s made from a waterproof core, a decorative top layer, and a protective wear layer, so it handles spills, pets, and kids much better than regular laminate.
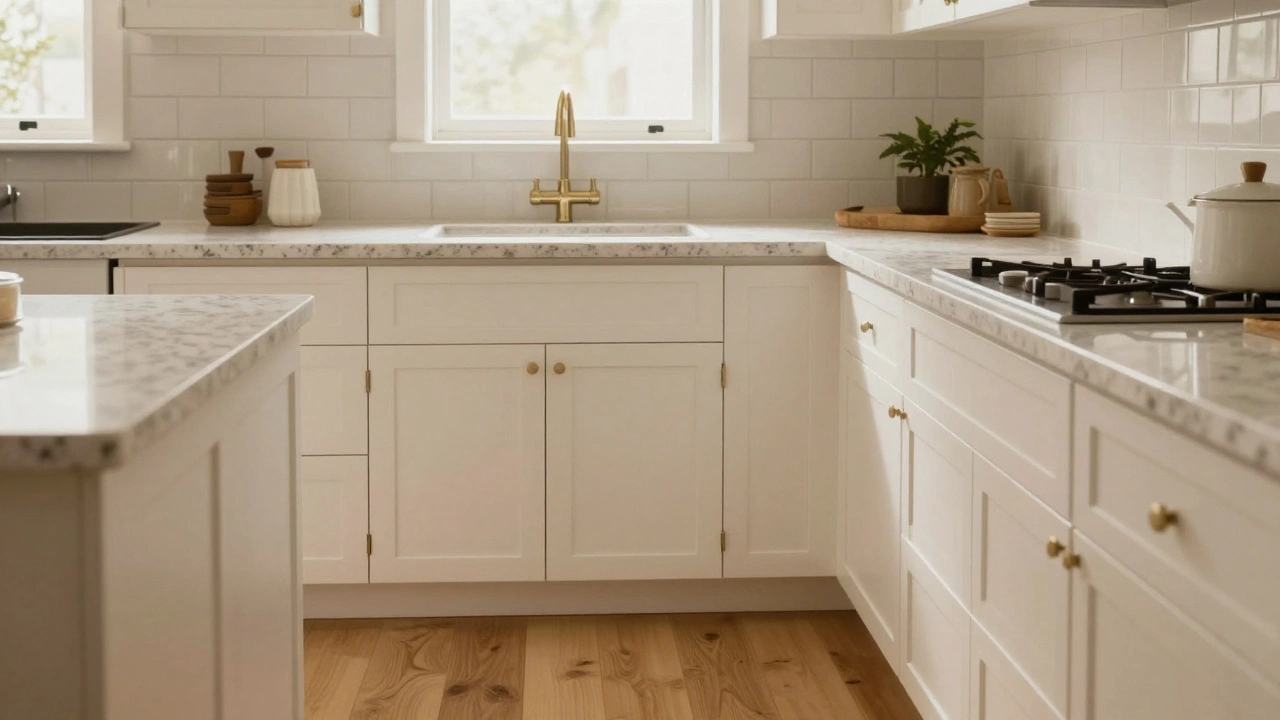
Because the core is dense and water‑resistant, you can install it in kitchens, bathrooms, and basements—places where traditional laminate would swell. At the same time, the surface feels solid underfoot, similar to real wood, and you get a wide range of styles, from rustic oak to sleek slate.
Key Benefits of Hybrid Flooring
First, hybrid flooring is waterproof. A single spill won’t ruin the board, and you don’t need a special underlay to keep moisture out. Second, it’s easy to clean. A quick sweep and a damp mop keep it looking fresh.
Third, the installation is a breeze. Most hybrid boards use a click‑lock system that snaps together, so you can lay them over existing floors without glue. Fourth, it’s budget‑friendly. You get the look of premium wood or stone for a fraction of the price, which is great if you’re renovating on a tight budget.
Finally, hybrid flooring is durable. The wear layer protects against scratches and dents, making it a solid choice for high‑traffic areas.
How to Install Hybrid Flooring Yourself
Ready to try a DIY install? Here’s a simple step‑by‑step guide that works for most rooms.
1. Prepare the subfloor. Clean it well, remove any carpet or old flooring, and make sure it’s level. If the floor is uneven, use a self‑leveling compound.
2. Lay a moisture barrier. Even though hybrid boards are waterproof, a thin polyethylene sheet adds extra protection, especially in basements.
3. Measure and cut the boards. Use a tape measure and a straight edge, then cut with a fine‑tooth saw. Leave a 10‑mm gap around walls for expansion.
4. Click the boards together. Start in a corner, angle the first board, then lay the next one by aligning the tongue and sliding it into place. Keep the joints tight to avoid gaps.
5. Stagger the seams. Make sure each row starts with a different length board; this adds stability and looks more natural.
6. Finish the edges. Use trim mouldings or splash guards to cover the expansion gap. These pieces also protect the edge from damage.
After everything is in place, give the floor a quick walk to make sure all boards are snug. If you hear any squeaks, check the click connections and adjust as needed.
That’s it—no glue, no heavy tools, just a few simple steps and a fresh floor that can handle life’s messes. Hybrid flooring gives you the look of expensive materials, the durability you need, and an installation you can finish over a weekend.
Whether you’re updating a single room or re‑flooring an entire house, hybrid flooring is a practical, stylish choice that won’t break the bank. Give it a try and enjoy a floor that looks great and stands up to everyday wear.


