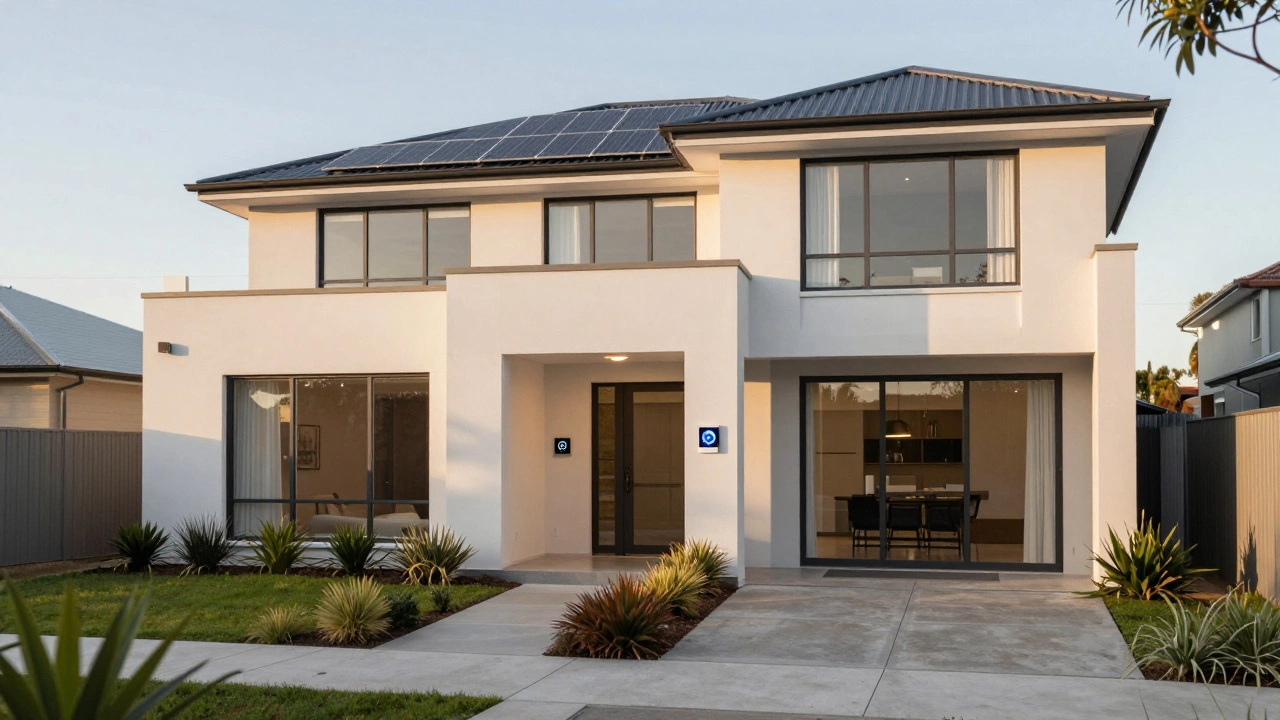
Design Process: Simple Steps to Turn Your Vision into Reality
Ever wonder why some projects look effortless while others feel like a never‑ending mess? The secret is a clear design process. When you follow a simple roadmap, you skip guesswork, keep costs in check, and end up with a space you love.
Step 1: Understand the Brief
Start by writing down what you really want. Ask yourself who will use the room, how often, and what vibe you’re after. Do you need a quiet home office or a lively family hub? Jot down must‑haves—like storage, natural light, or pet‑friendly floors—and any deal‑breakers. This short brief becomes your north star and saves you from back‑and‑forth later.
Step 2: Turn Ideas into Plans
Next, sketch a rough layout. You don’t need a fancy CAD program; a pen and paper or a free online planner works. Plot where walls, doors, and windows sit, then add furniture footprints. Once the layout feels right, move to a more detailed drawing that includes dimensions, material notes, and a rough budget column. Seeing numbers early helps you decide if a high‑end countertop is realistic or if a cheaper alternative works just as well.
With a plan in hand, talk to a contractor or a trusted tradesperson. Share your drawings, ask for feedback on structural issues, and get a ball‑park quote. Their input will flag hidden costs—like extra joists for a heavy marble surface—before you commit.
Now it’s time to pick finishes. Stick to three main choices: floor, wall colour, and fixtures. Limiting options keeps decisions quick and the look cohesive. For example, choose a durable laminate for a busy hallway, a light‑washed paint for a small bedroom to add space, and a sleek chrome faucet that matches both.
Budgeting is the next reality check. List every item from demolition to the final light switch, then add a 10‑15% buffer for surprises. If the total blows past what you can spend, go back to your list and swap one or two items. Often a modest change—like swapping solid hardwood for engineered wood—keeps the design intact while trimming costs.
When you’ve locked in materials and numbers, create a timeline. Break the project into milestones: demolition, rough‑in (plumbing/electrical), walls & flooring, and final finish. Assign realistic dates and share them with anyone on the job. A clear timeline reduces downtime and keeps everyone accountable.
During construction, stay involved but avoid micromanaging. Check in at each milestone, ask for photos, and confirm that work matches the plan. If something feels off, address it early—small tweaks are cheaper than redoing a whole wall later.
Finally, the hand‑over. Walk through the completed space, test switches, doors, and fixtures. Make sure every detail matches your brief. If anything’s missing, note it and get it fixed before signing off.
Following these steps—brief, plan, budget, timeline, and review—turns a vague idea into a finished room you can actually use. The design process isn’t a mystery; it’s a handful of practical actions that keep your project on track and your stress level low.