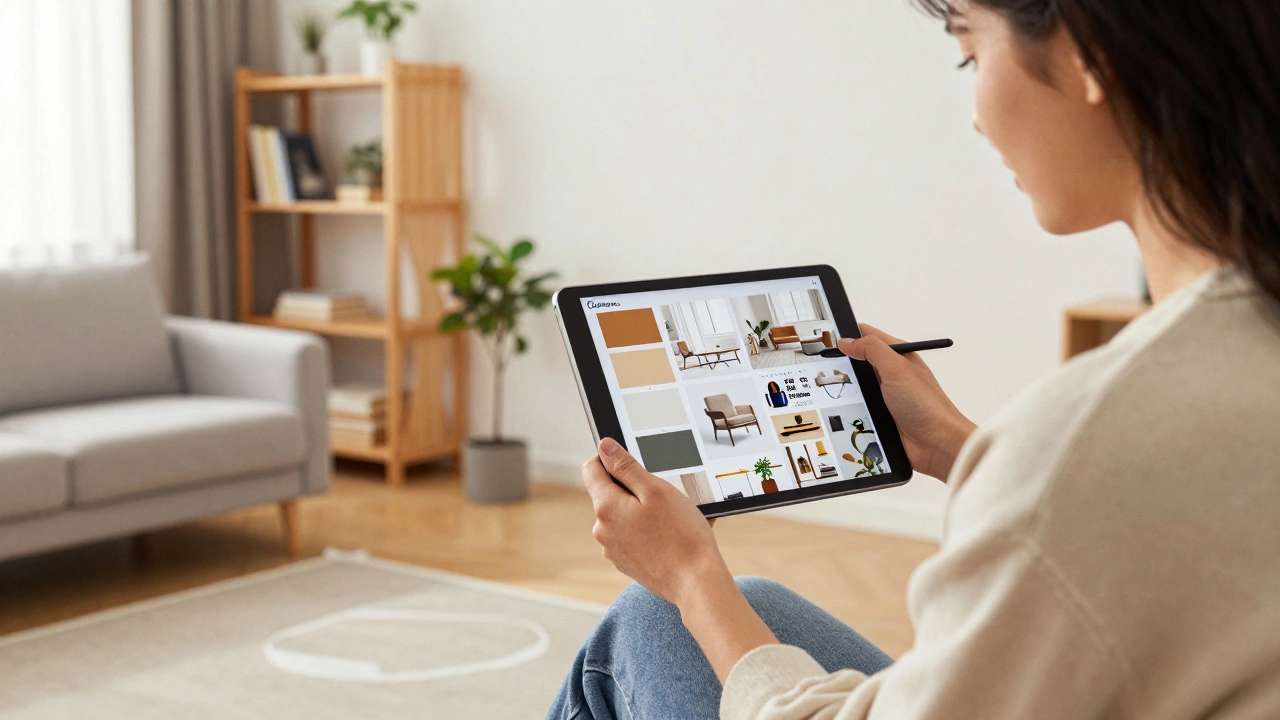
Interior Design Color Harmony Calculator
Create Your Perfect Color Scheme
Apply the 60-30-10 color rule to create balanced, professional interior designs. Enter your main color, and we'll calculate the perfect complementary neutral and accent colors.
Your Color Scheme
How to Use This Scheme
Apply your colors according to the 60-30-10 rule:
- 60% Walls, large furniture, or flooring
- 30% Furniture, window treatments, or medium accessories
- 10% Accent pieces, artwork, or decorative details
You don’t need a degree, a fancy portfolio, or a big budget to start an interior design business. You just need to know how to see space differently-and the courage to start before you feel ready. Thousands of people in Australia and around the world have launched successful interior design businesses with zero formal training. They didn’t wait for permission. They didn’t wait to be ‘qualified.’ They started with what they had: a good eye, a willingness to learn, and a plan.
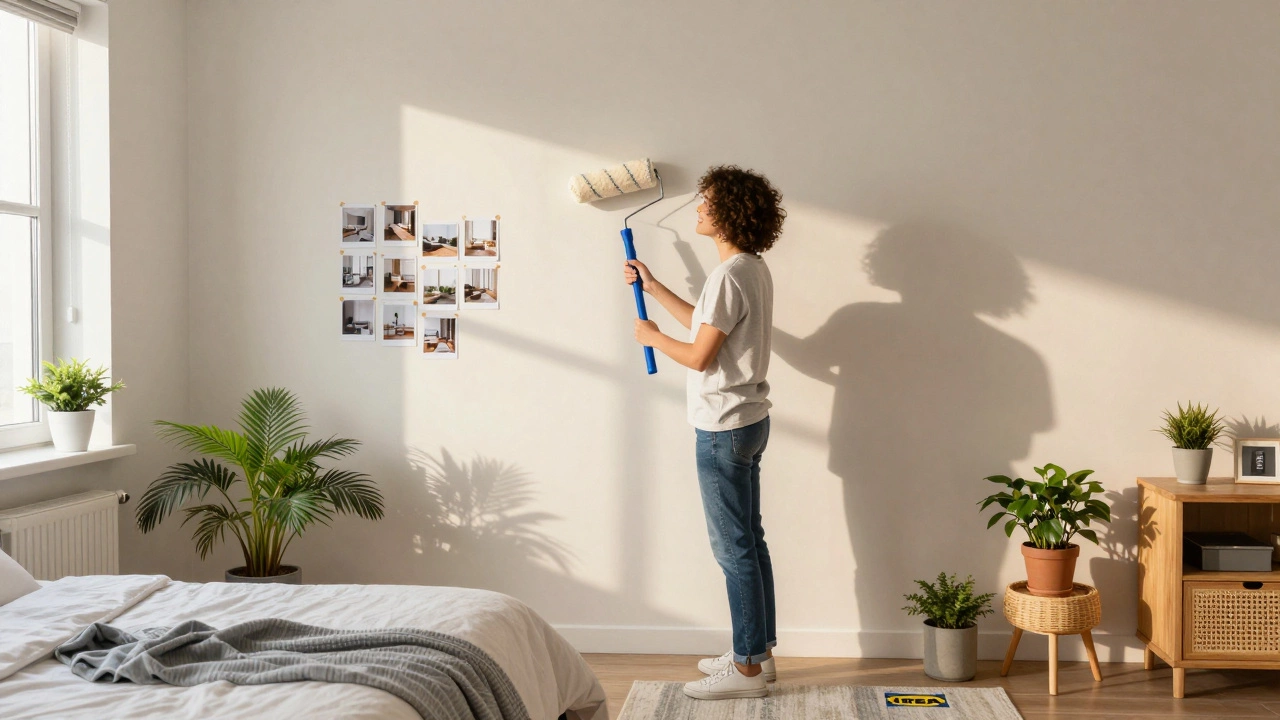
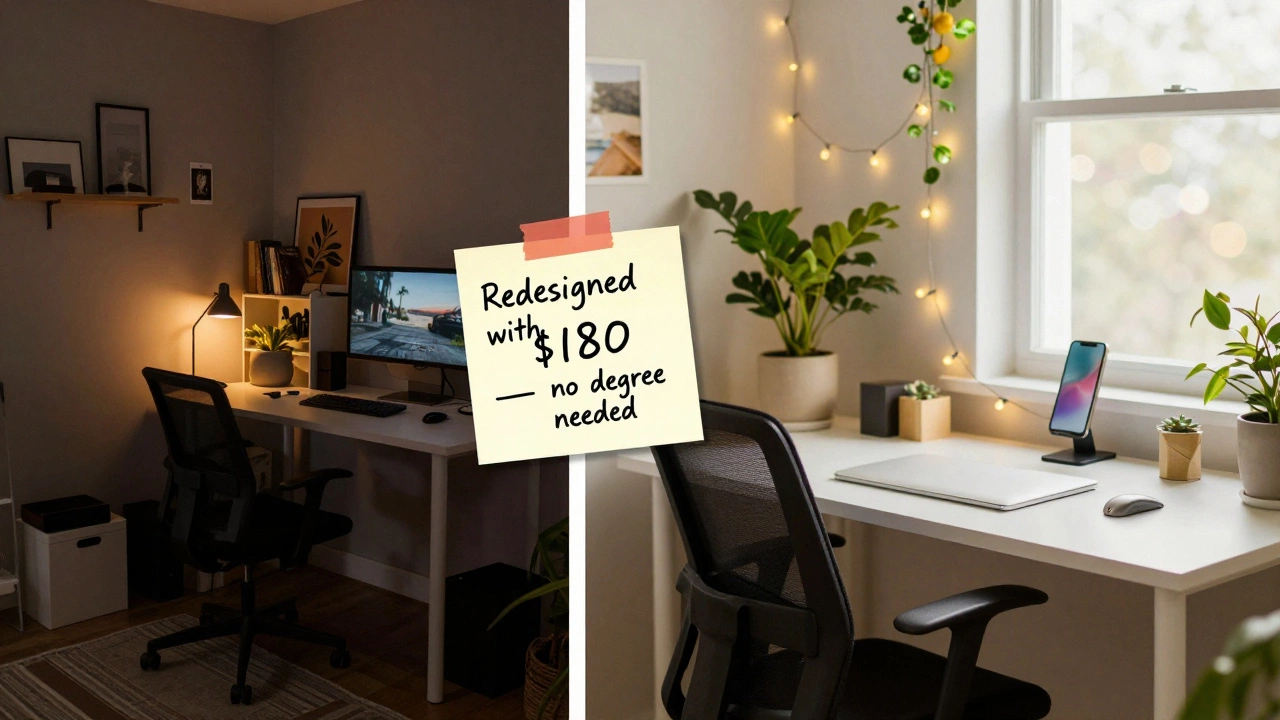
Start by designing your own space
The best way to prove you can do this is to do it-on yourself. Pick one room in your home. It could be your living room, your bedroom, even your home office. Redesign it. Change the layout. Swap out lighting. Add plants. Paint a wall. Take before and after photos. This isn’t about perfection. It’s about proving to yourself that you can make a space feel better.Do this right now. Don’t wait for the perfect paint color or the right rug. Use what you own. Borrow a lamp from a friend. Shop at thrift stores. IKEA, Kmart, and local secondhand markets are your best friends. Spend $200 or less. Spend a weekend. Then, ask five people: “What do you feel when you walk into this room?” Their answers will tell you more than any design course ever could.
This is your first portfolio piece. Don’t hide it. Post it on Instagram. Write a short caption: “Redesigned my bedroom with $180 and zero experience. Here’s what I learned.” You’d be surprised how many people will respond: “Can you do this for me?”
Learn the basics-fast
You don’t need to memorize every design principle. You need to know enough to make good decisions and sound confident. Focus on three things:- Scale and proportion: A big sofa in a small room feels crushing. A tiny rug under a large table looks lost. Measure everything. Use masking tape on the floor to mark furniture positions before buying.
- Lighting layers: No room works with just one light. You need ambient (overhead), task (desk lamp), and accent (wall sconce, picture light). Even a single floor lamp and a string of fairy lights can transform a space.
- Color harmony: Stick to three colors max per room. Pick one neutral (white, beige, gray), one main color (blue, green, earth tone), and one accent (mustard, rust, teal). Use the 60-30-10 rule: 60% neutral, 30% main, 10% accent.
Free resources are everywhere. Watch YouTube channels like Home RenoVision DIY and Studio McGee. Read blogs from Design Milk and Architectural Digest. Take one free online course from Coursera or Skillshare on Basic Interior Design Principles. Spend 30 minutes a day. In six weeks, you’ll know more than most people with degrees who never touch a space.
Build your brand around a niche
Don’t try to be everything to everyone. That’s how beginners fail. Instead, pick one type of client and one type of space.Here are real examples from Melbourne designers who started with nothing:
- Small apartments for young professionals: Focus on space-saving solutions, multifunctional furniture, and maximizing natural light.
- Landlords upgrading rental properties: Offer affordable, durable, and stylish makeovers that increase rent potential.
- Home offices for remote workers: Design calming, productive spaces with ergonomic tips and smart storage.
Once you pick your niche, say it out loud: “I help small-space apartment dwellers in Melbourne create calm, functional homes without breaking the bank.” Say it to your friends. Say it on your Instagram bio. Say it when someone asks what you do.
People don’t hire generalists. They hire specialists who solve their exact problem.
Use free tools to create professional presentations
You don’t need expensive software like AutoCAD or SketchUp. Use free tools that anyone can learn in an afternoon:- Canva: Make before-and-after mood boards. Add text, photos, and color swatches. Save as PDFs or JPEGs.
- Roomstyler: Drag and drop furniture into a 2D or 3D room layout. Change wall colors, flooring, lighting. Export images instantly.
- Pinterest: Create secret boards for each client. Save images that match their style. Show them the board before you start. “This is what you want. This is what we’ll do.”
These tools let you look professional without spending a cent. Clients don’t care if you used free software. They care if you understood their needs and made their space better.
Start small, charge little, get testimonials
Your first three clients shouldn’t be strangers. Start with:- A friend who just moved into a new place
- A neighbor who’s renovating their kitchen
- A family member who hates their living room
Offer them a “Starter Package”: one room, one day of your time, a mood board, a shopping list, and a layout plan. Charge $150-$300. That’s less than a new lamp-but it’s real work. And it’s your first testimonial.
Ask them for a short video or written review. “I had no idea how to fix my space until Sterling helped me. Now I love coming home.” That’s gold. Post it. Use it on your website. Use it when you cold-message someone on Instagram.
Turn every interaction into a lead
You don’t need to advertise. You need to be visible where people already are.- Instagram: Post one before-and-after per week. Caption it with your niche. “How I turned this 40m² apartment into a cozy retreat for a nurse working night shifts.”
- Facebook Groups: Join local groups like “Melbourne Renters” or “Inner North Homeowners.” Don’t sell. Answer questions: “What’s the best way to make a dark hallway feel bigger?” People will DM you.
- Word of mouth: Give every client a printed thank-you card with your Instagram handle. Add a sticker: “This space was redesigned by a local designer. Ask me how!”
One person tells two friends. Those two tell four. In six months, you’ll have more work than you can handle.
Know the legal stuff-simply
You don’t need a license to be an interior designer in Australia. But you do need to protect yourself.- Register a business name through ASIC (costs $42 for one year).
- Get public liability insurance (from providers like Hiscox or Aon). It costs $50-$100 a year. Worth it.
- Use a simple contract. Free templates exist on the Australian Institute of Design website. Include: scope, payment schedule, cancellation policy, and that you’re not an architect (so you don’t get sued for structural changes).
Don’t overcomplicate it. You’re not running a law firm. You’re helping people feel better in their homes.
Keep learning as you go
You’ll make mistakes. You’ll get a client who wants a neon pink wall. You’ll order a rug that’s too small. You’ll forget to measure a doorway. That’s normal.Every mistake is data. Write it down. What went wrong? What would you do differently? Share it. “I thought this rug would work. It didn’t. Here’s what I learned.” People love honesty. It builds trust faster than any polished ad ever could.
After your third project, take a $50 course on Color Theory for Interiors. After your fifth, buy a book on Biophilic Design. After your tenth, start offering virtual consultations. Growth isn’t about being perfect. It’s about showing up, learning, and improving.
You’re already qualified
You don’t need a degree to care about how a space feels. You don’t need years of experience to notice that a room with too much clutter makes people anxious. You don’t need to be the best designer in Melbourne to help someone feel at home.The world doesn’t need another designer who knows every trend. It needs someone who listens, who cares, and who shows up-even when they’re scared.
Start today. Pick one room. Redesign it. Take a photo. Post it. Say: “I’m starting an interior design business. Here’s my first project.”
That’s all it takes.